

Creating a Python web app using Pycharm and Django Framework
- Part 1 - Environment Setup
- Part 2 - Mapping Navigation URL
Steps to follow
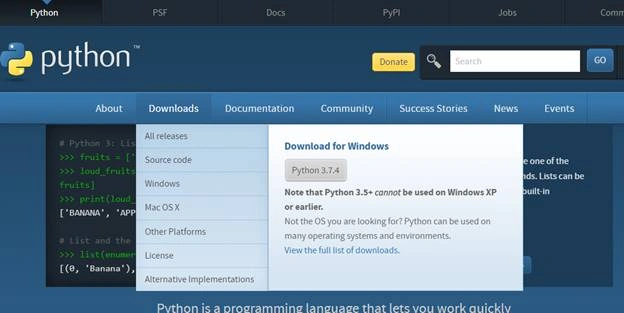
- Go to python.org and download and install the latest version of Python from the download section
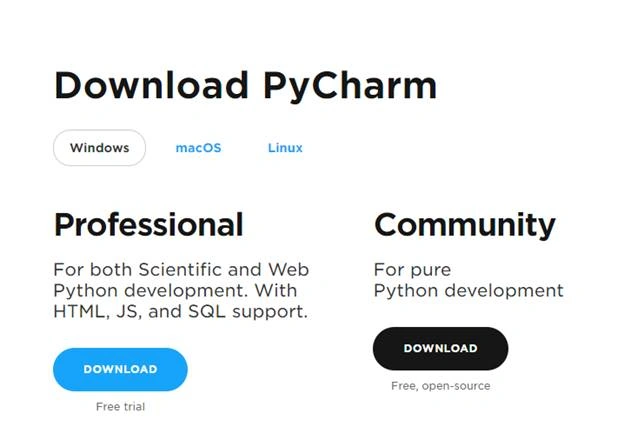
- After installation, the next step is to go to download and install the latest Pycharm Community from here.
- Open Pycharm
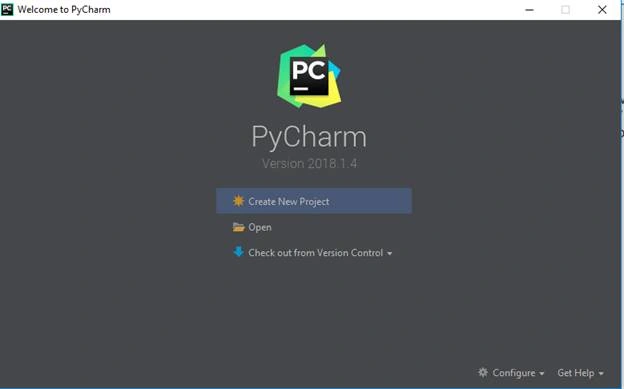
- Click on Create New Project – Enter name of the project and click Create
New Python Project will be created in Pycharm
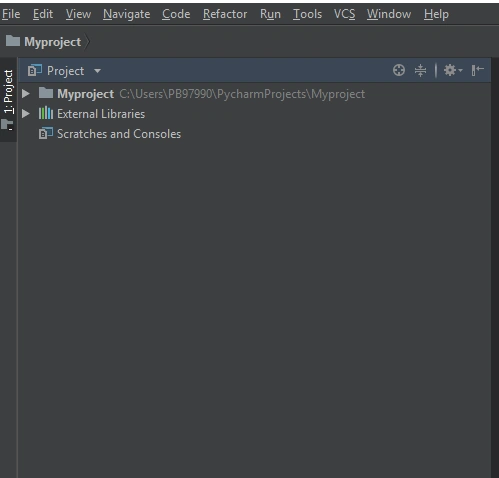
- Open Terminal by clicking on Terminal option present at the bottom left side of pycharm window
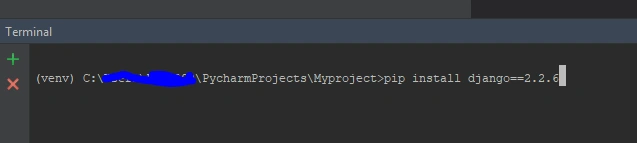
- Install the latest Django framework by typing the following command on terminal opened in above step
>>pip install Django==2.2.6(here 2.2.6 is the latest framework as of now, you can check for the latest version by browsing Django official website.)
- Create a new Django app inside the project by using the following command (don’t forget to write dot at the end of the command, containing space between project name and dot)
>>django-admin startproject Helloworld .

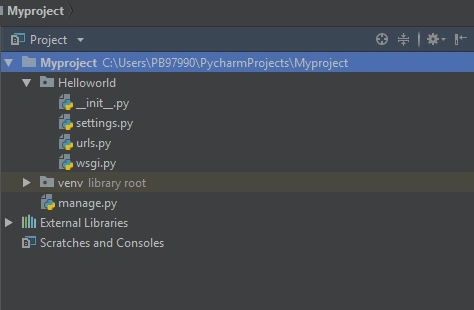
- The above command will create a New folder named Helloworld with four files and one manage.py as shown below,
Helloworld| __init__.py| setting.py| urls.py| wsgi.py| manage.py
- Run the server by using manage.py file created earlier by using the following command,
>>python manage.py runserver

- Open the browser and type http://127.0.0.1:8000/ in the address bar
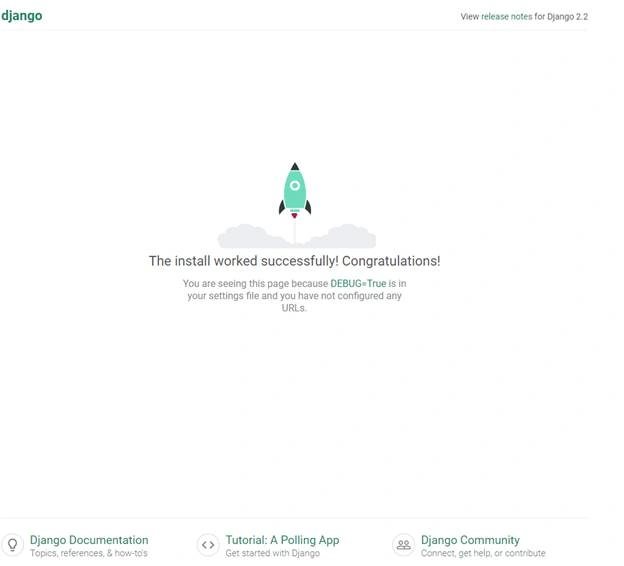
- Congratulations…! Environment Set up is done successfully
Part 2 - Creating Python web app using Pycharm and Django Framework – Mapping Navigation URL
Define what the user should see when the user browses through e.g.,
http://127.0.0.1:8000/Products/
http://127.0.0.1:8000/About/
http://127.0.0.1:8000/Contacts/
Steps to follow
Previously we have created a Helloworld app under the project “My project" with four files.
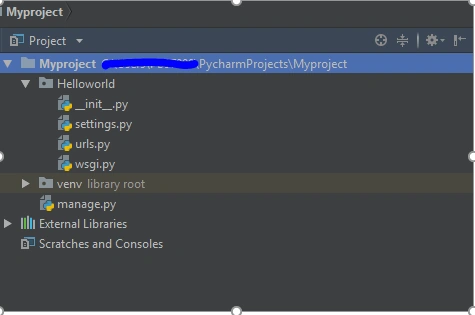
Directory Helloworld contains four subfiles
- _init_.py - Helloworld directory is nothing but package defined under the project and we can import various modules from this package into other modules
- settings.py – We can define the various setting for the application
- urls.py – With this module, we can define what the user should see when the user browses through e.g. - /Product, /about, /contact
- wsgi.py – WSGI stands for webserver gateway interface, the purpose of this module to provide a standard interface between application with Django and web server.
- manage.py – this module is used to manage the Django project. With this we can start the web server, and connect with the database.
Open the terminal window again, which is at the bottom left side of pycharm editor
Run the server by using the command,
>>python manage.py runserver
Click on plus sign (+) in terminal to open a new terminal.
The project will divide into multiple apps, so we are going to create a new app by triggering the following command,
>> python manage.py startapp Products
New app will be added under Myproject, we will use views.py module to setup navigations.
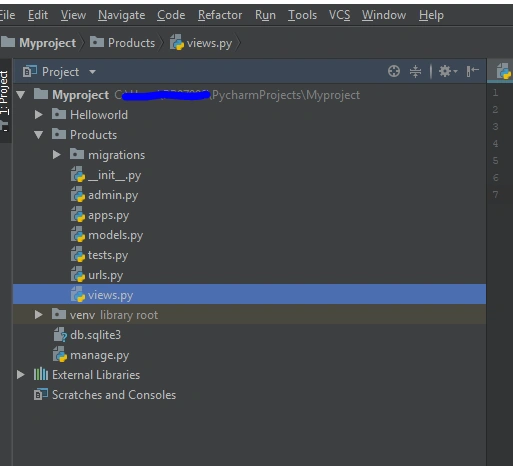
- Open views.py
Import HttpResponse from Django to return simple text message from Products App
- from django.http import HttpResponse
- def index(response):
- return HttpResponse("This message is from Products App")
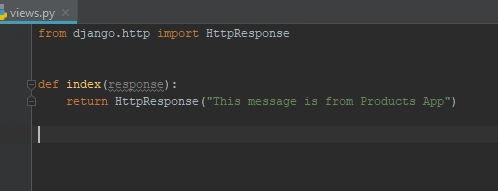 Whenever user asks for /Product we need to call index function.Let’s do mapping
- Create a new urls.py file under Products App by right-clicking on Products folder
- Open the urls.py file
- from django.urls import path
- from . import views
- urlpatterns = [
- path ('', views.index)
- ]
Define list objects called urlpattern – in this list we map various urls to their view functions.To reference these URLs, the import path function from Django.url.- from django.urls import path
To provide a second parameter/passing reference of views. index function (i.e. views.index) to list item path we need to import views- from . import views
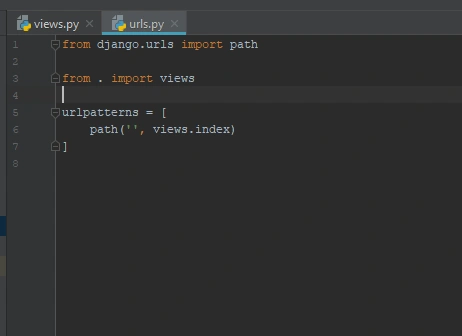
- Now we will need to tell Django about a newly-created app (i.e Products)
- Collapse the Products folder and open the Helloworld folder and open urls.py module under root (Helloworld) folder
You will find following window
- from django.contrib import admin
- from django.urls import path
- urlpatterns = [
- path('admin/', admin.site.urls),
- ]
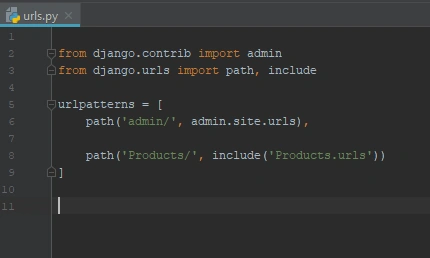
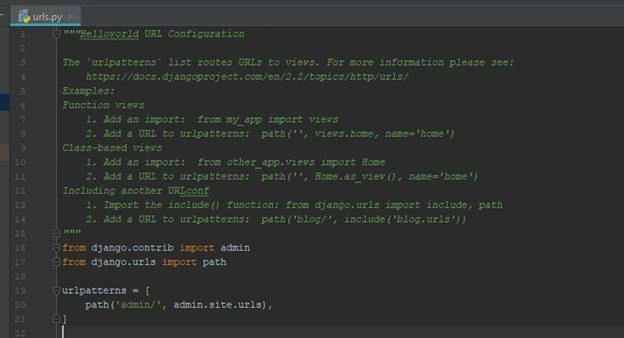 Every Django project comes with an administrative column.Any request with the keyword admin/ will go to the administrative panel, in the same way, any request which comes with Products/ keyword will go to Products apps.Add another object in urlpattern of root urls.py fileTo do that we need to add “include” function in the imported path as shown below
- from django.contrib import admin
- from django.urls import path, include
- urlpatterns = [
- path('admin/', admin.site.urls),
- path('Products/', include('Products.urls'))
- ]
- Go to the browser and put the URL http://127.0.0.1:8000/Products/ (Make sure server is running)
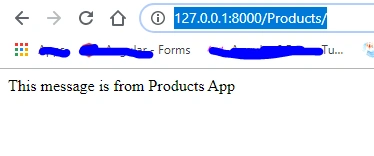
The message from views.py under Products app will show on the screen…
Happy Coding…. :)
Princely OnaifoPosted Jun 28, 2025, 7:38 PM
Thank you. it works, but I had to set the environment variable for DJANGO_SETTINGS_MODULE because my project wasn't properly configured. https://sqlpey.com/python/solved-how-to-fix-the-improperlyconfigured-error-in-django/
Mohd AasifPosted Apr 6, 2021, 11:37 AM
Thanks! Very helpful.
Sanjit SarkerPosted Apr 23, 2020, 12:30 PM
How full create full website for django
Raja SekharPosted Jan 3, 2020, 1:14 AM
Extraordinary