

Overview
An Azure SQL Database Dynamic Data Masking limits the sensitive data exposure by masking it to non-privileged users. The dynamic data masking is supported for the V12 version of Azure SQL Database.
Prerequisites
- Azure account.
Now, let's get started with the following steps -
Set up dynamic data masking for your database, using the Azure Portal
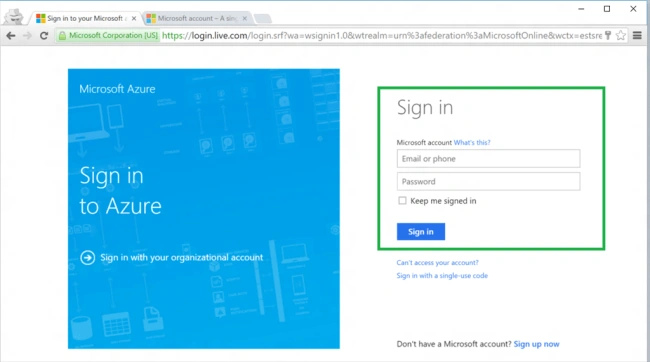
Sign in to the online Microsoft Azure Portal.
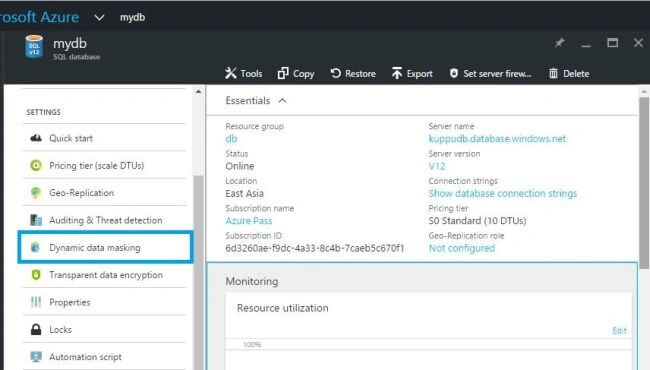
Open the existing database on Azure portal. Click the Dynamic Data Masking tile which launches the Dynamic Data Masking configuration blade.
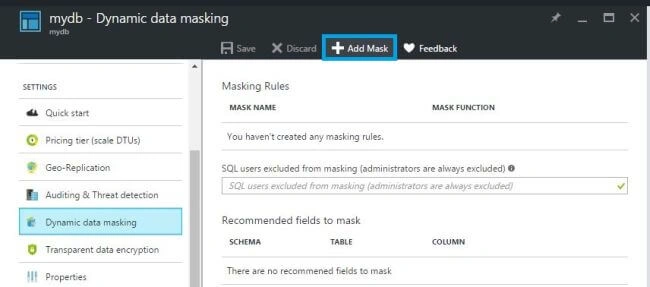
In the Dynamic Data Masking configuration blade, we may see some database columns that the recommendations engine has flagged, for masking.
In order to accept the recommendations, just click Add Mask for one or more columns and a mask will be created based on the default type for this column.
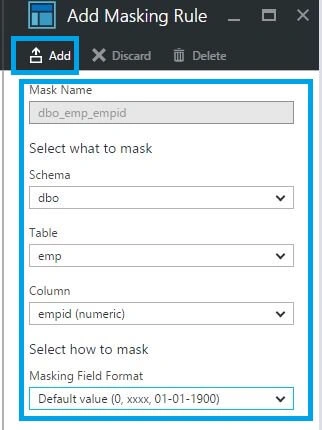
To add a mask for any column in your database, select the Schema, Table, and Column to define the designated field that will be masked.
To add a mask for any column in your database, select the Schema, Table, and Column to define the designated field that will be masked.
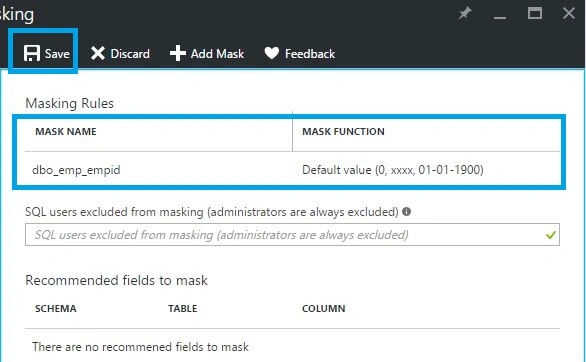
Choose a Masking Field Format from the list of sensitive data masking categories. Click Save in the data masking rule blade, to update the set of masking rules in the dynamic data masking policy.
A few seconds later, the mask function is applied to that particular column.
And that's how we set up Dynamic Data Masking for our database. I hope, this article was helpful.
A few seconds later, the mask function is applied to that particular column.
And that's how we set up Dynamic Data Masking for our database. I hope, this article was helpful.
Join the conversation! Your thoughts help the community grow.