
Power Apps is a suite of apps, services, connectors, and data platforms that provide a rapid application development environment to build custom apps for your business needs. More Details https://learn.microsoft.com/en-us/power-apps/powerapps-overview .
The Next arrow Shape in PowerApps is used to Move to the next screen.
Reading this article, you can learn how to perform the Next arrow Shape in Microsoft Power Apps. Also, you will be able to learn Text box, Label control in the Power Apps environment.
Step 1. Open the URL https://powerapps.microsoft.com/en-us/ in the browser for Power apps.
Create an account with your Organisation Mail ID and log in after logging into your Power Apps account. Then, Navigate to https://make.powerapps.com/.
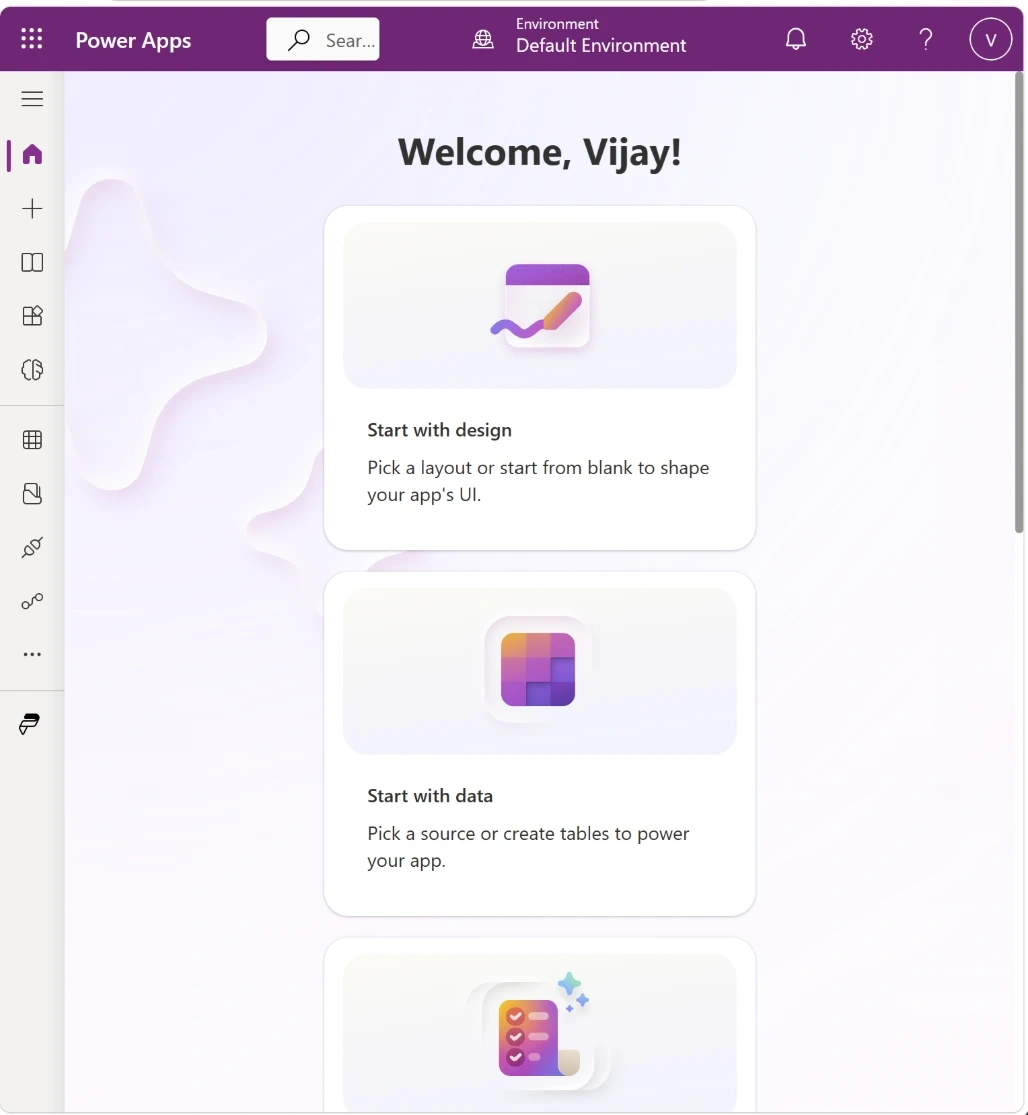
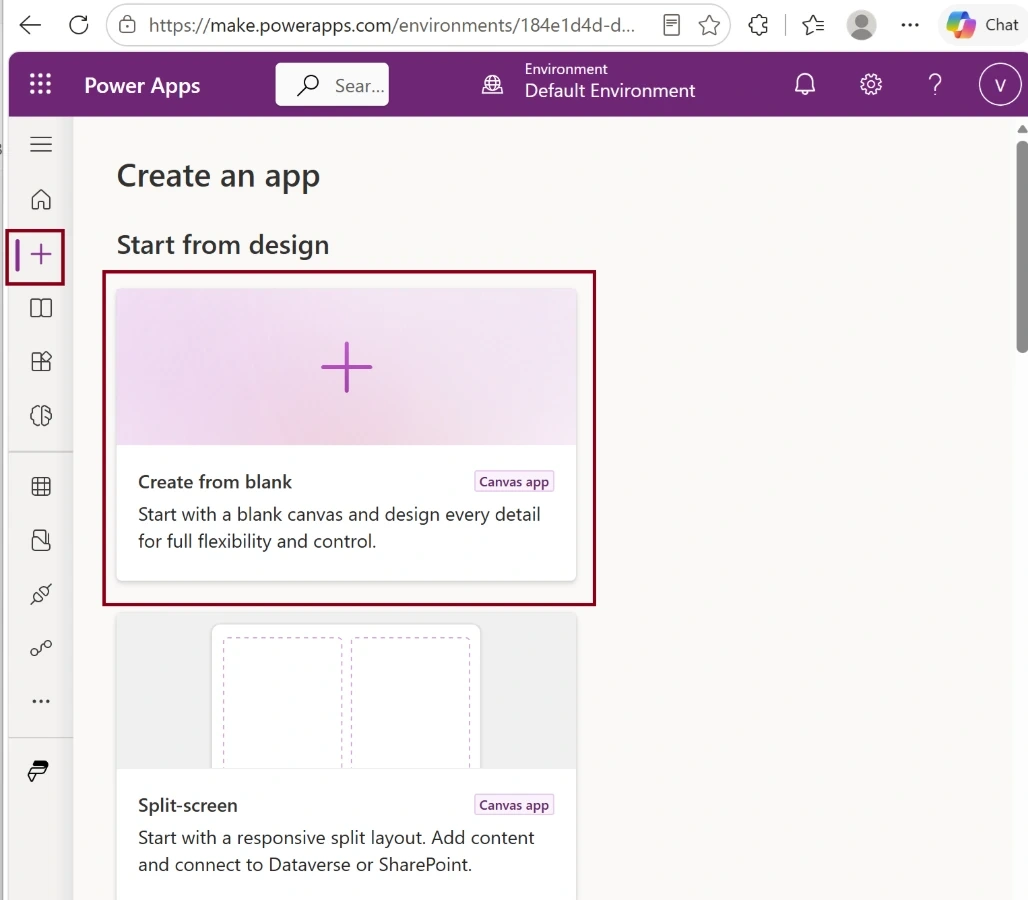
Step 2. First, Click Create (+ ) and Select the Create a form and Select Blank Canvas.
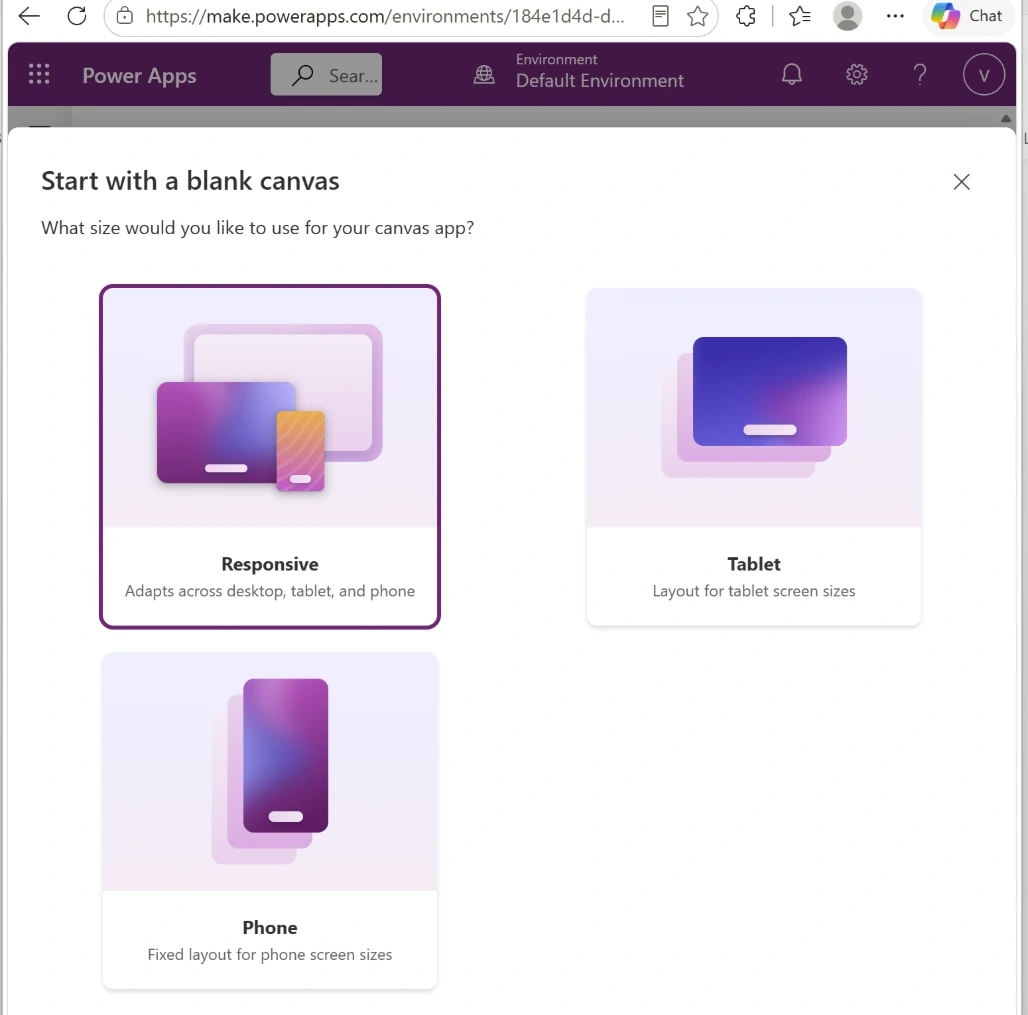
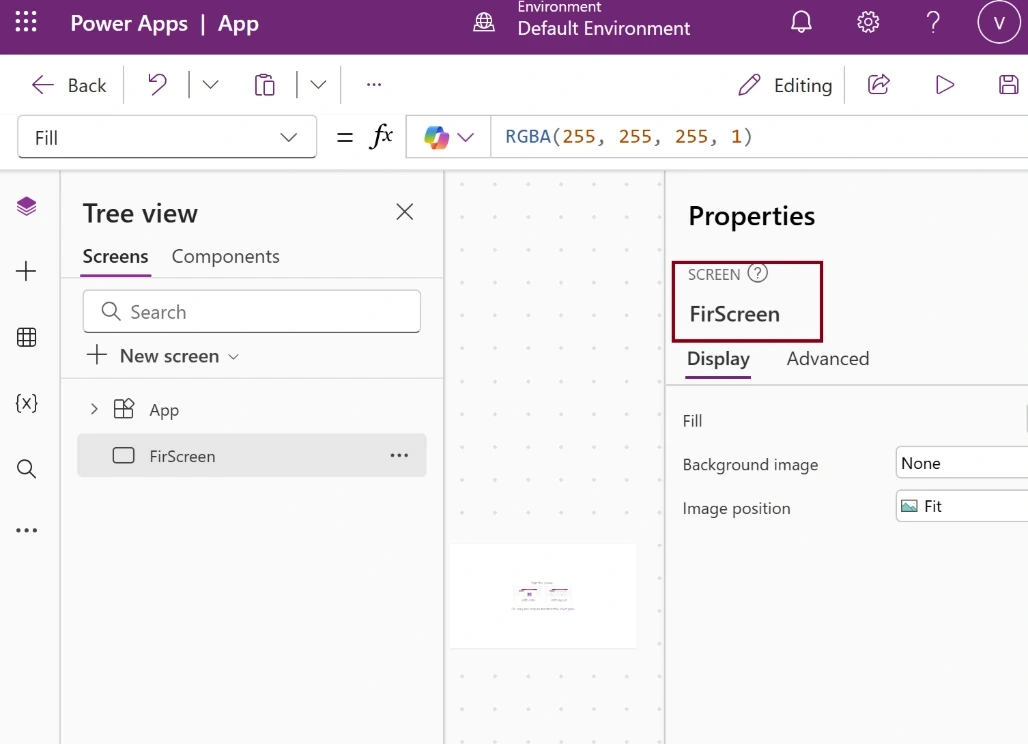
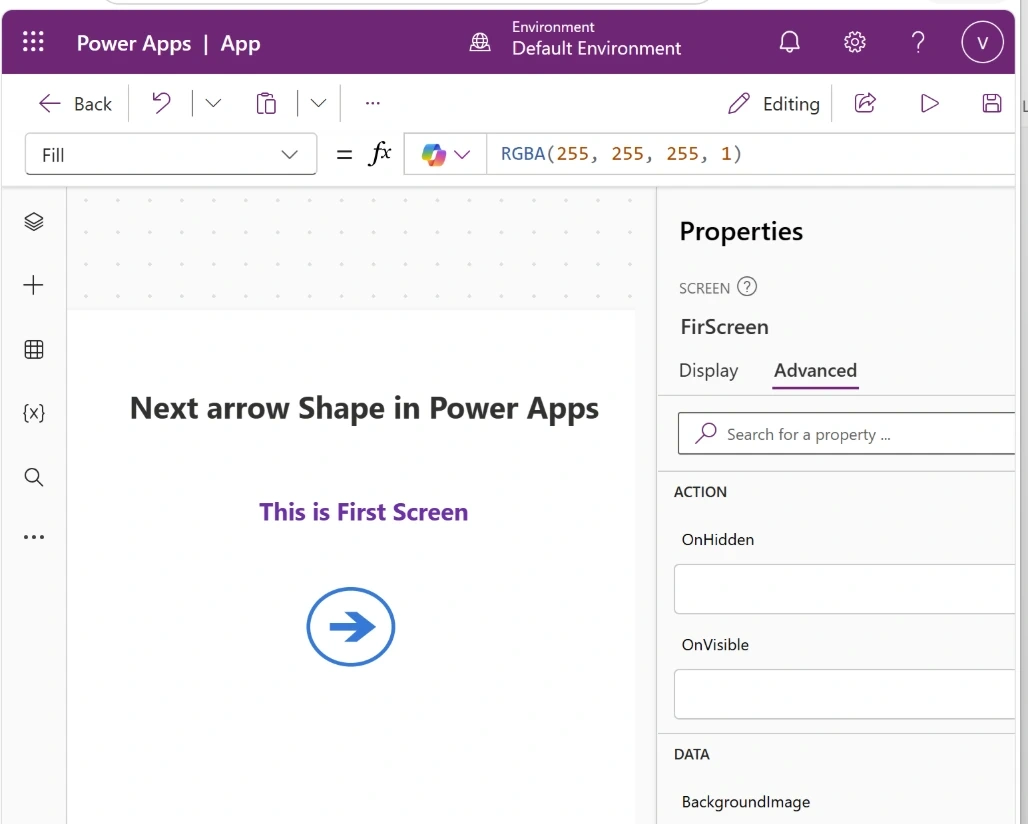
Step 3. To test the Next arrow shape, First Rename the Screen name as FirScreen.
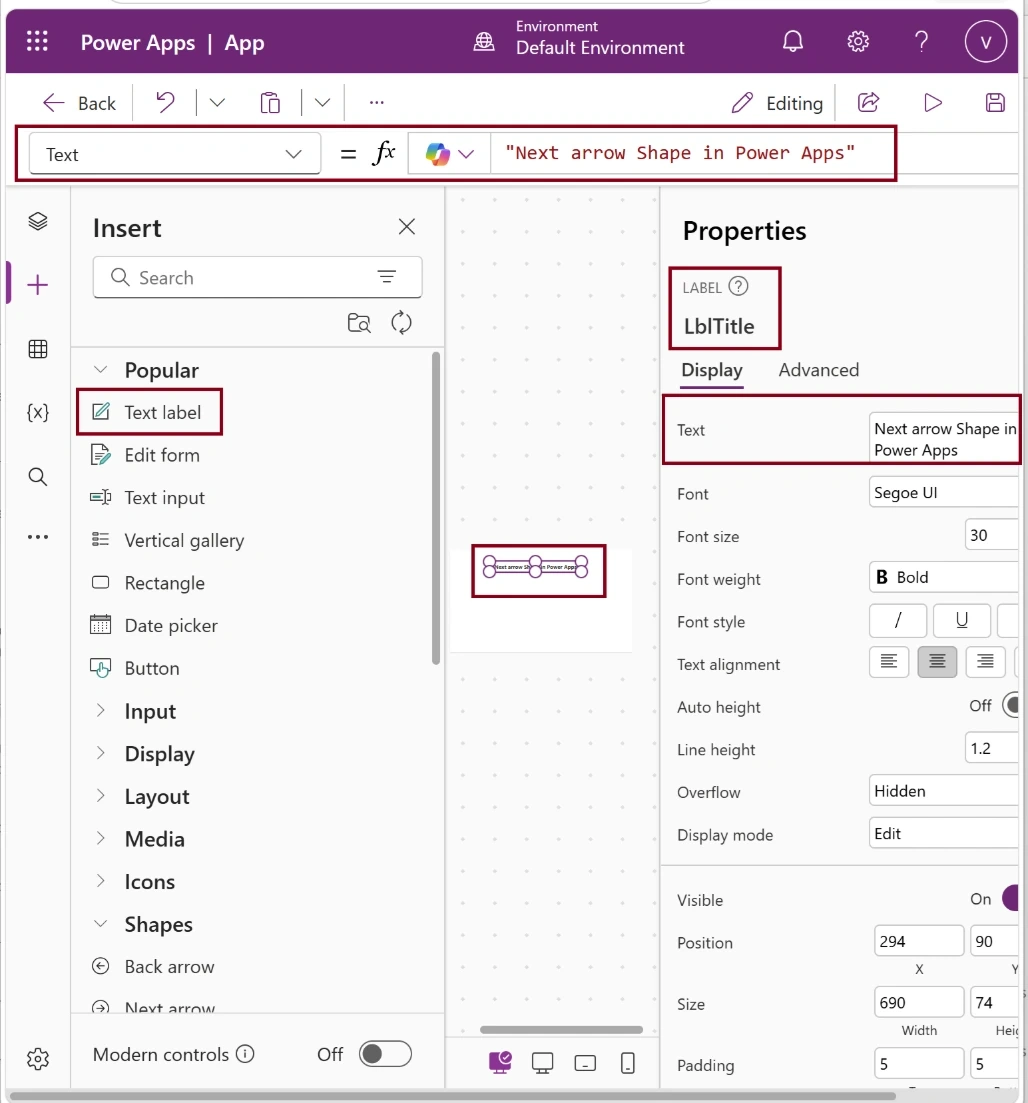
Next, Insert a Label control and set the Name and Text property as LblTitle and “Next arrow Shape in Power Apps”.
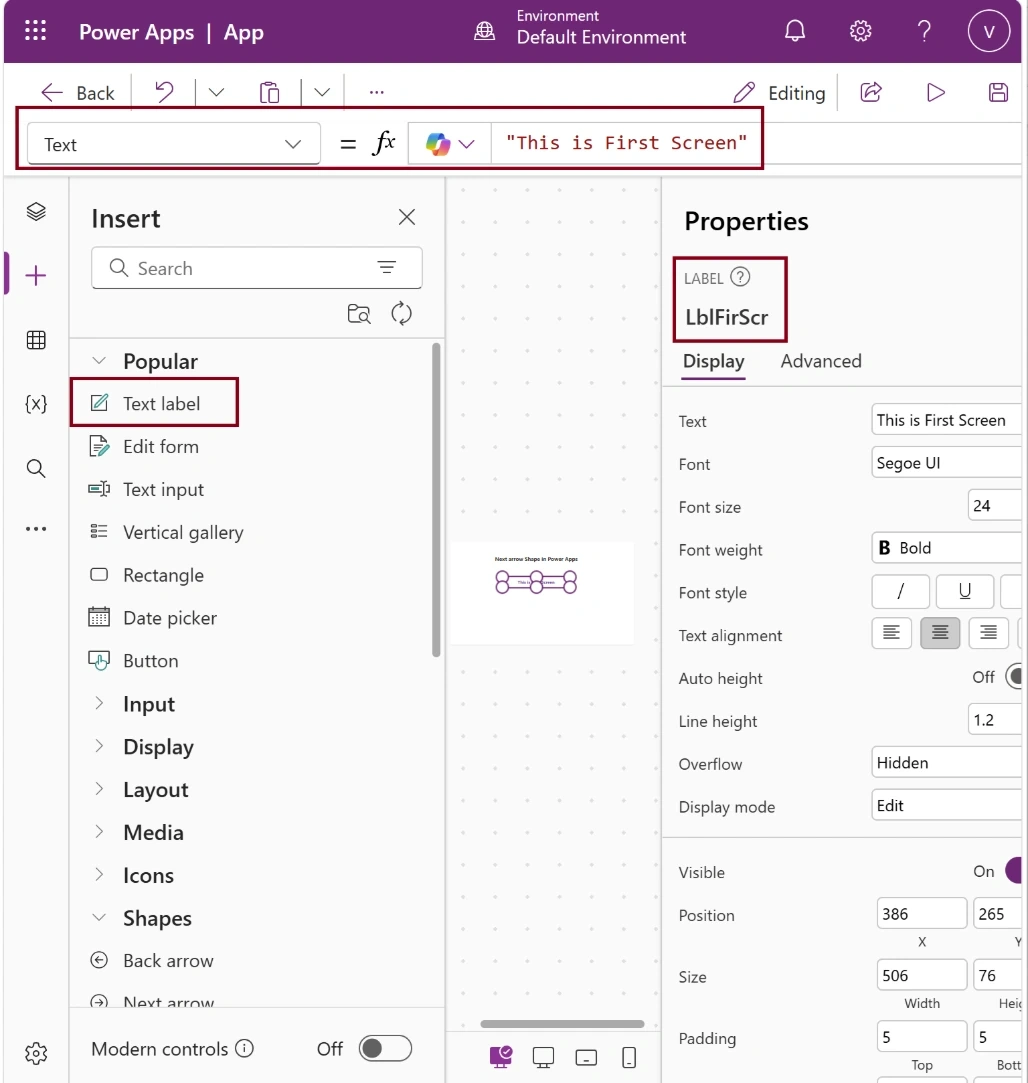
Next, Insert a Label control and set the Name and Text property as LblFirScr and " This is First Screen”
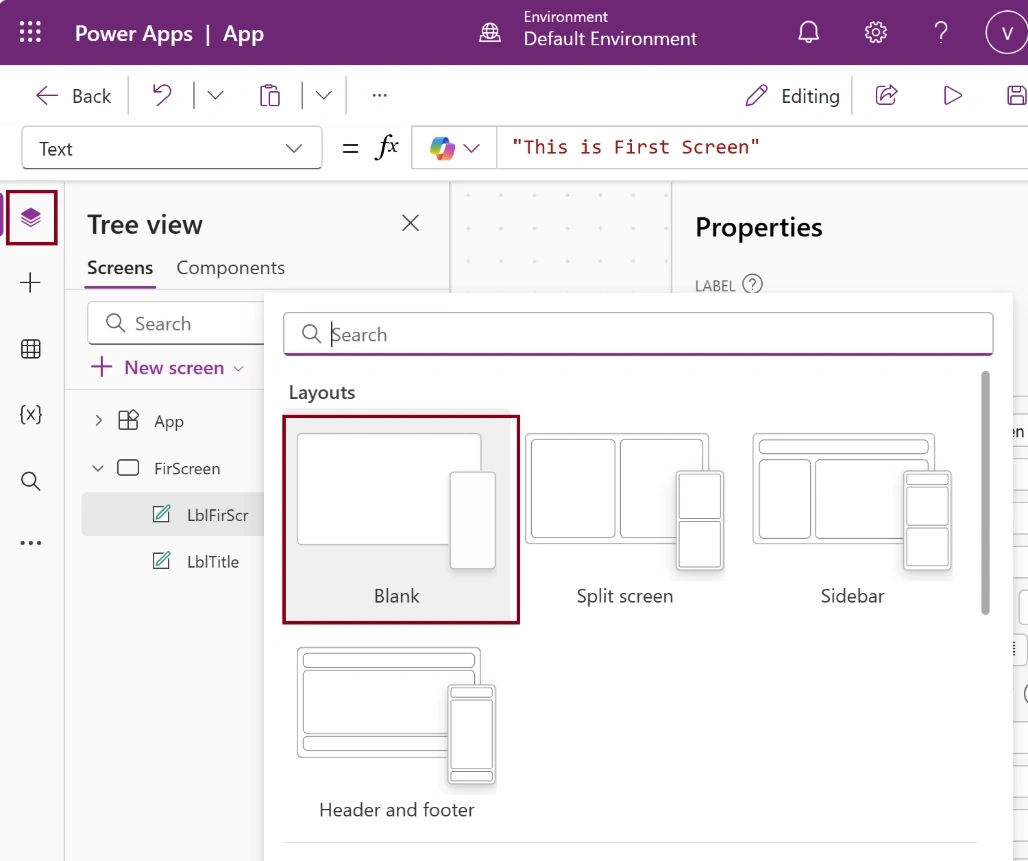
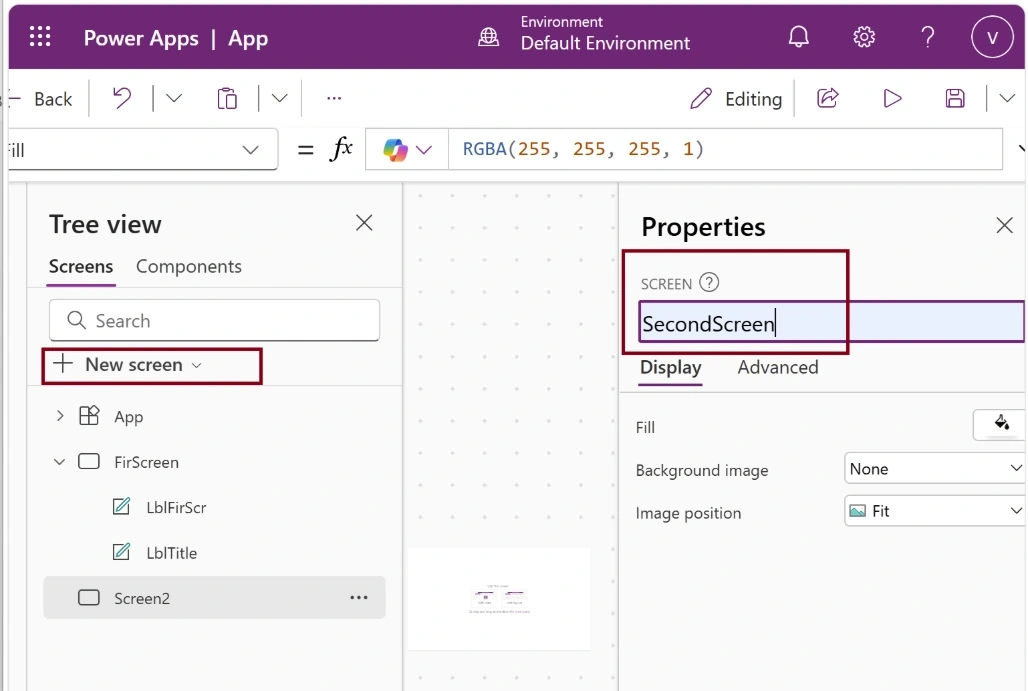
Next, Add one more screen, Rename the Screen name as SecondScreen
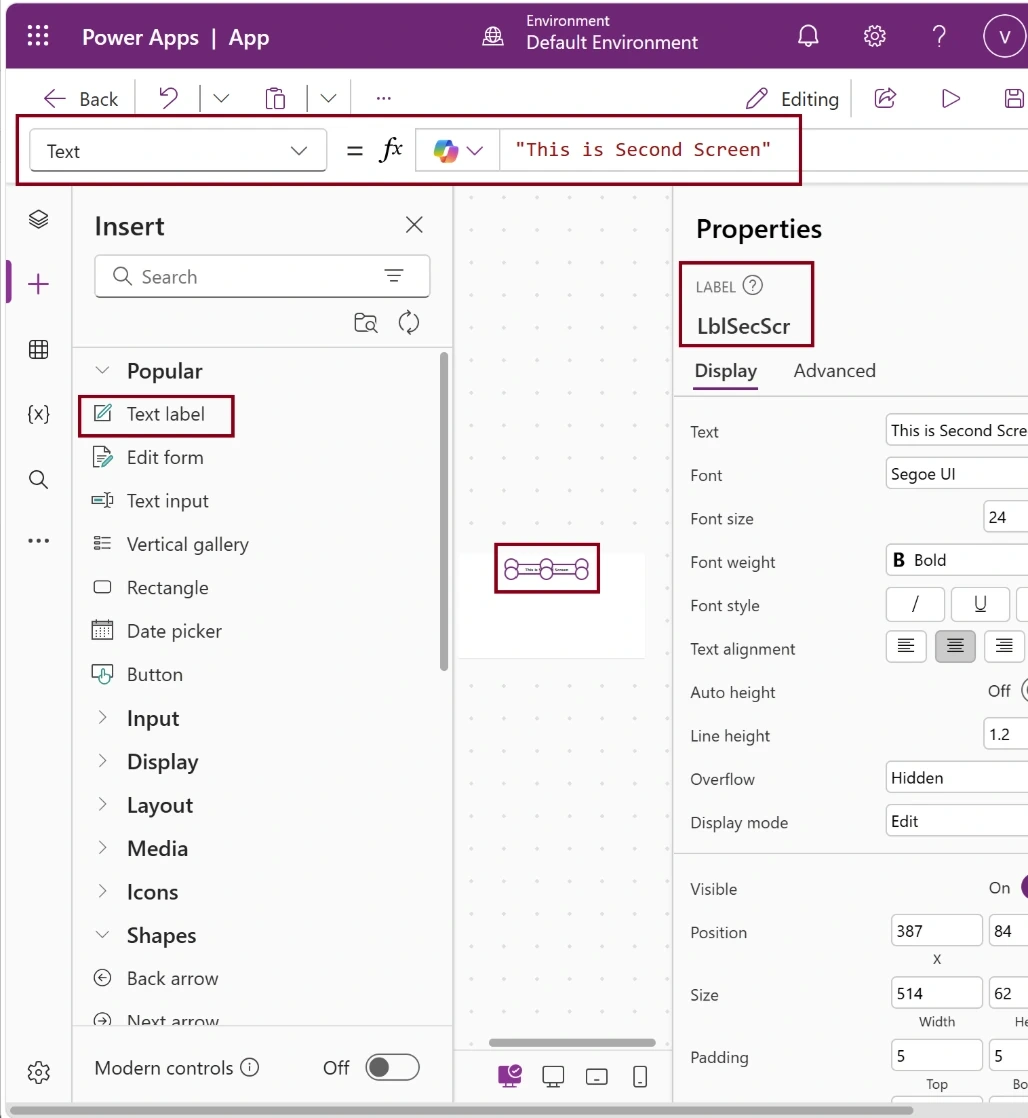
Next, Insert a Label control and set the Name and Text property as LblSecScr and “This is Second Screen”
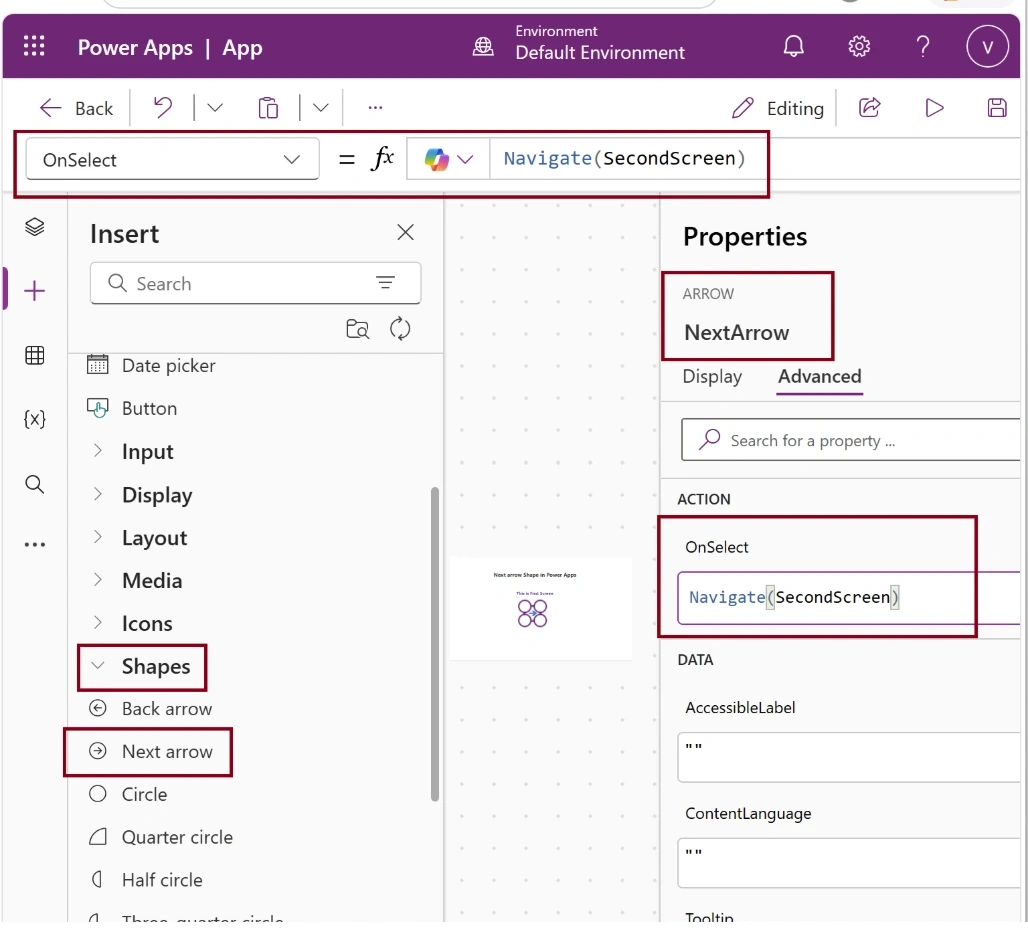
Next, Go to First screen and Insert a Next arrow shape and set the Name property as NextArrow and set OnSelect property as
Navigate(SecondScreen)
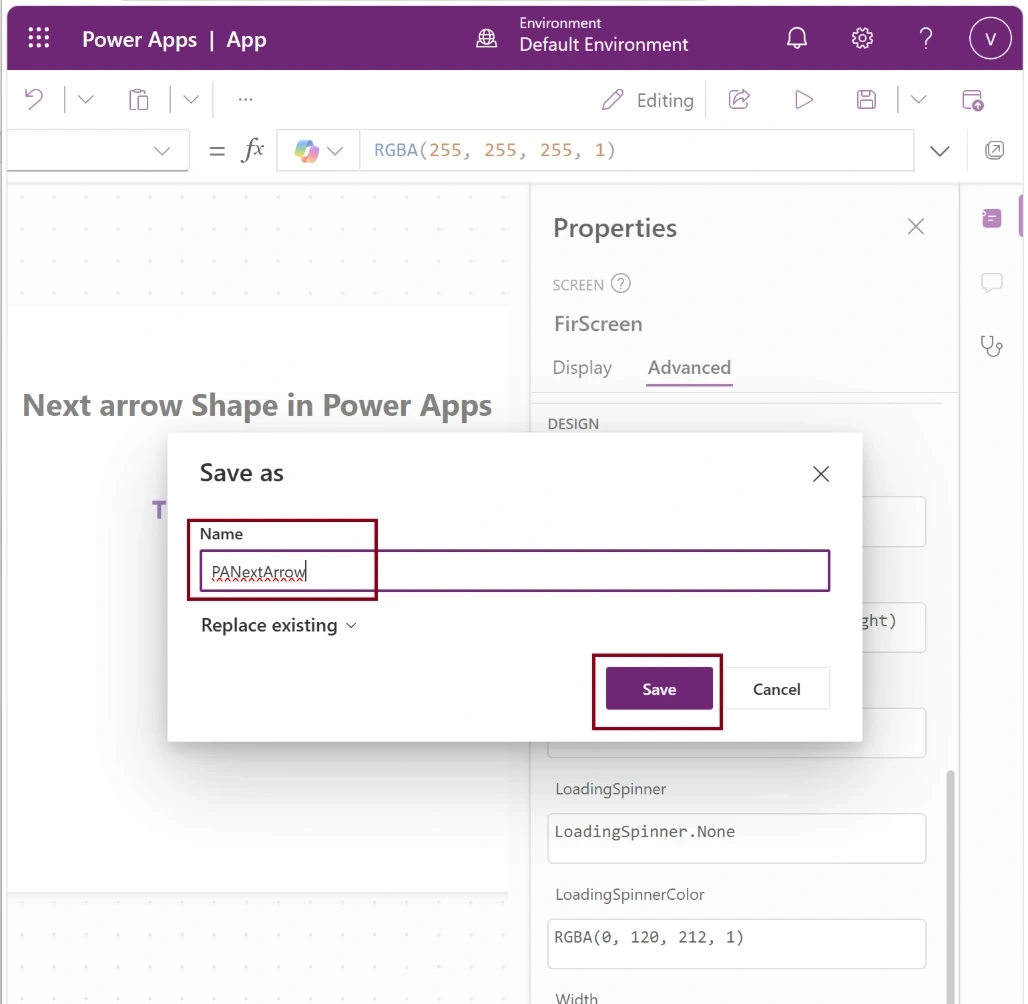
Finally, Save the App with name as PANextArrow,
The form design looks like below.
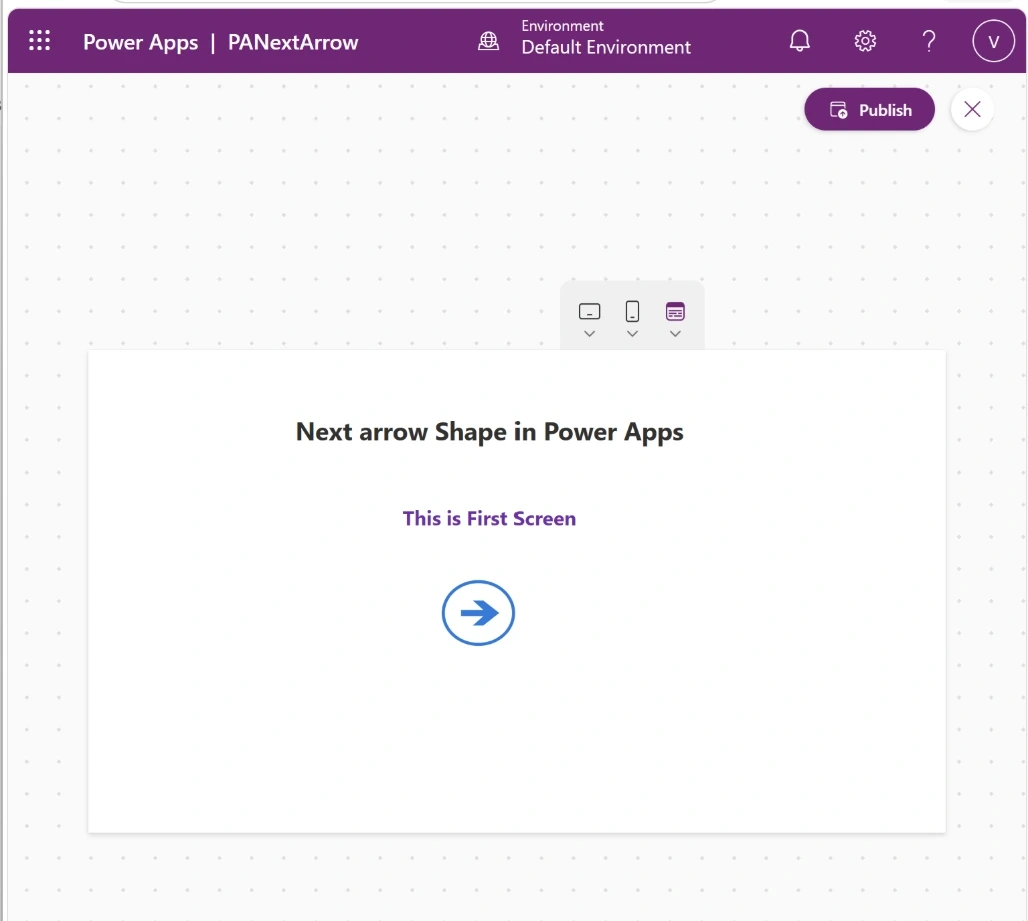
Step 4. Now we can see the run your App in Power Apps Studio, and The output of the PANextArrow,
The Browser Display is
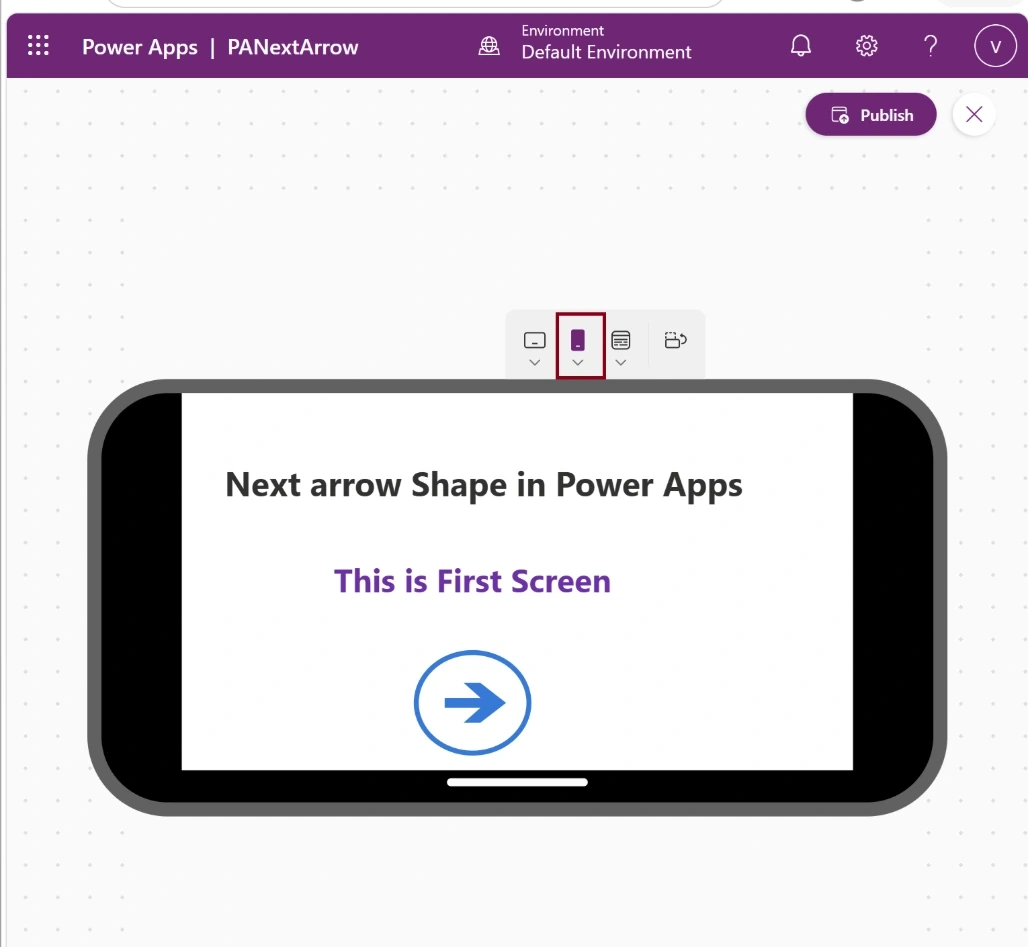
The Apple iPhone Display is,
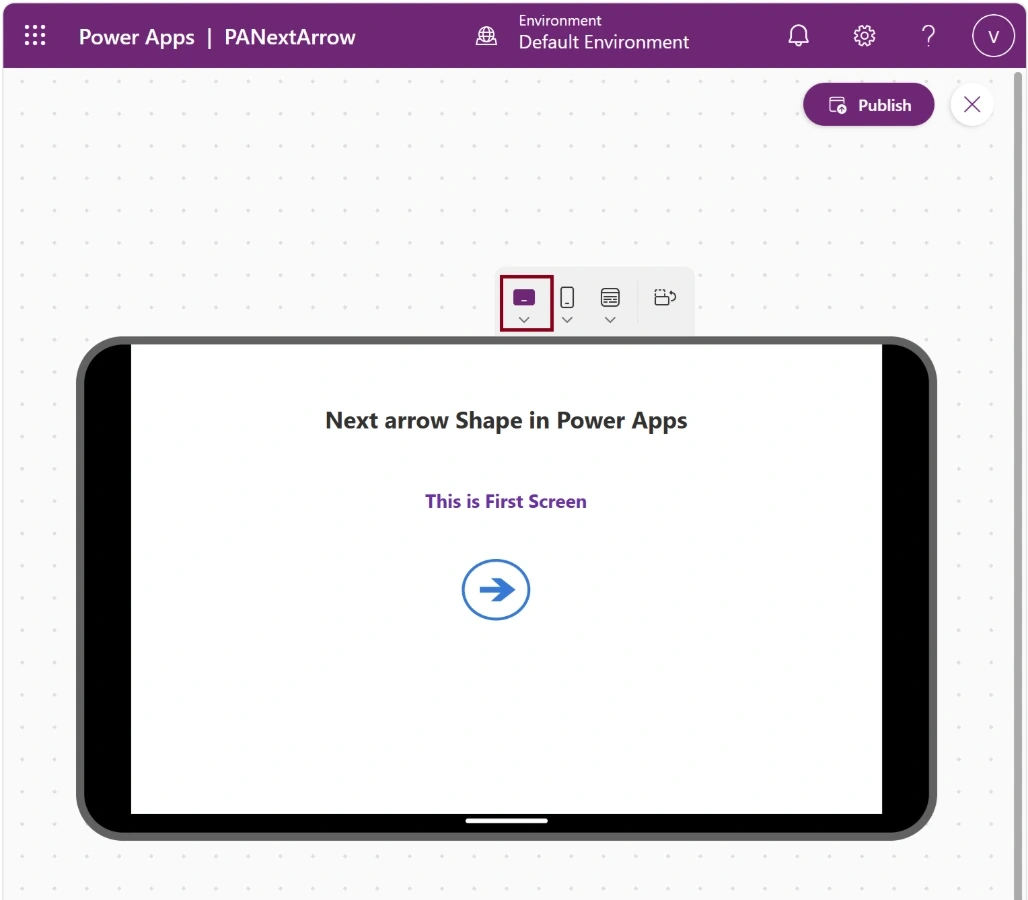
The Tablet Display is,
After Clicking Next arrow as,
Now, you have successfully tested the Next arrow shape in the Power Apps Studio environment.

Join the conversation! Your thoughts help the community grow.