

Now in PowerApps, we can build custom PowerApps Reusable Components which can be reused in many of our PowerApps applications. This is still in preview mode.
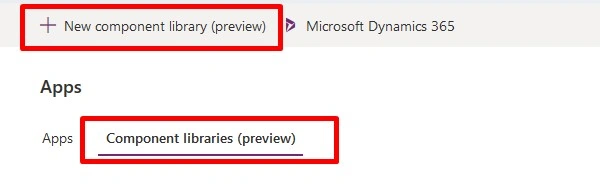
We had a custom requirement to have pagination to PowerApps Gallery control. The current Gallery control in PowerApps supports up/down scroll navigation. But there is no support available for going to the first page or last page or to the next or previous page, like we usually have in general real-world web applications.
So, in order to achieve this, I have built a reusable PowerApps component called “Gallery Pagination”.

This component can be resized based on our need and can be used in Canvas Apps having Phone or Tablet layout.
This is like Version 1.0 of “Gallery Pagination” component. I would possibly come up with new version soon, possibly with support of Collection object and a “possibility to jump to exact page” feature. Currently there is no support of Collection object in PowerApps Component.
The good part is this is an open source component and if needed you may update it as per your need in your PowerApps environment once you set it up. It is available to download at this git location.
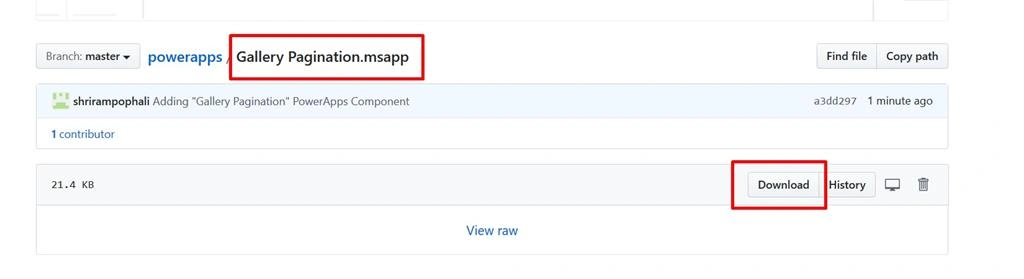
Just download it and use it (with some supporting actions on Gallery and Parent Screen controls) like mentioned in the steps below.
The below steps might look like a lot, but believe me it takes very little time to implement them.
Before you begin, make sure you have access to a valid O365 tenant (trial or licensed). You will need One SharePoint Site and Valid PowerApps license.
So, let’s get started!
Step 1
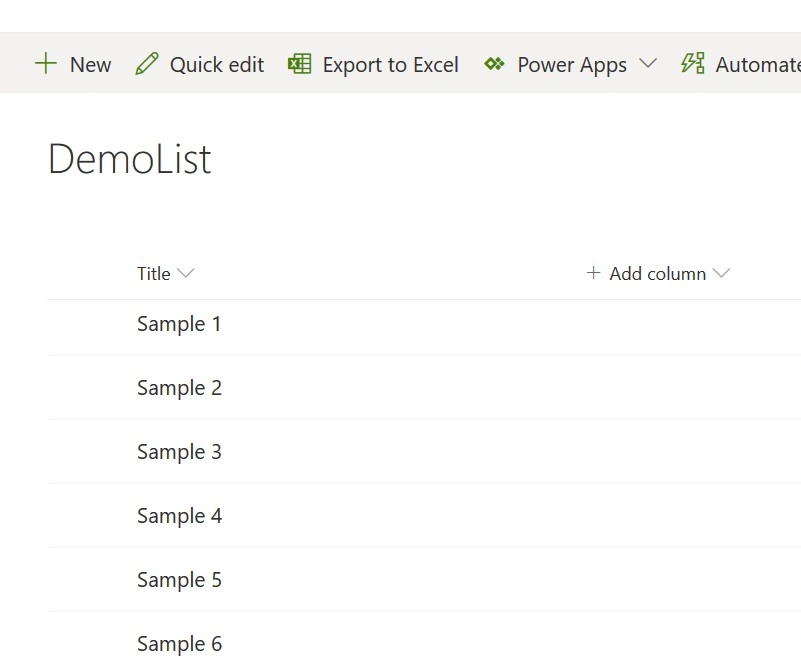
Create a sample Demo List in any test SharePoint site and add some dummy items. To see the real ‘Gallery Pagination’ Component usage in PowerApps, add at least 15-20 entries.
Step 2
Open PowerApps https://web.powerapps.com/ and create a new SharePoint connection like explained here.
Step 2.1
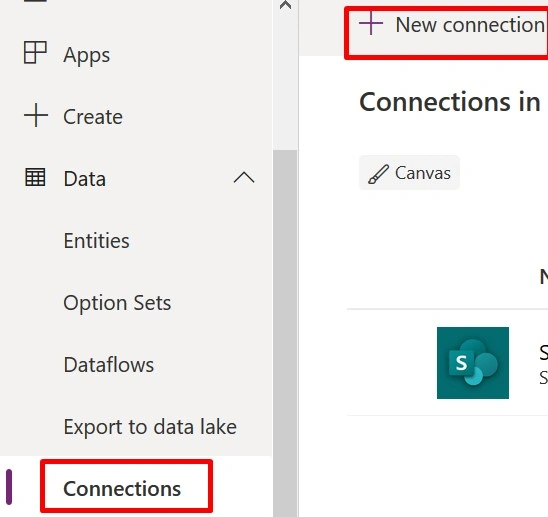
Click Connections > Click “New Connection”
Step 2.2
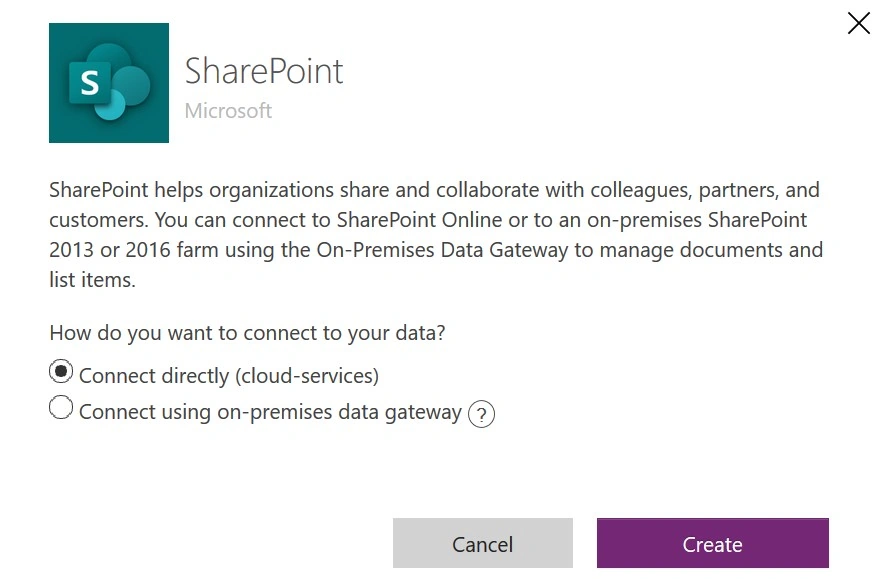
Select “Connect directly(cloud-services)” > Click “Create” Button
Step 2.3
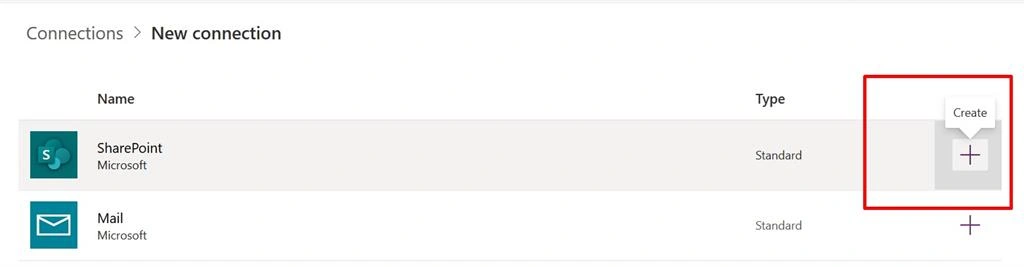
On SharePoint row, click “+” icon to create a new connection
Step 2.4
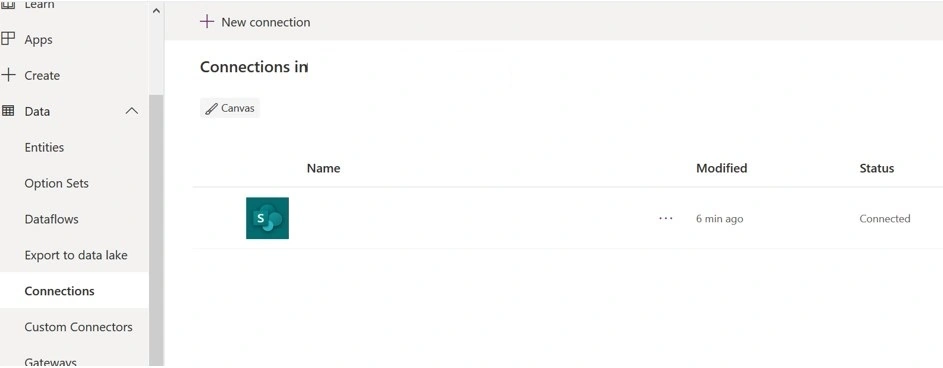
A new SharePoint connection is now created
Step 3
Create a new Canvas app and add a SharePoint connection
Step 3.1
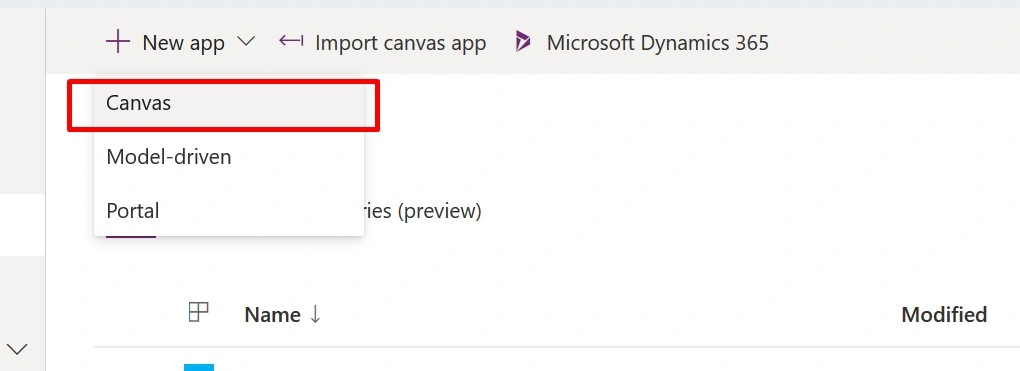
In “New app”, Select Canvas. It will open a new tab in browser.
Step 3.2
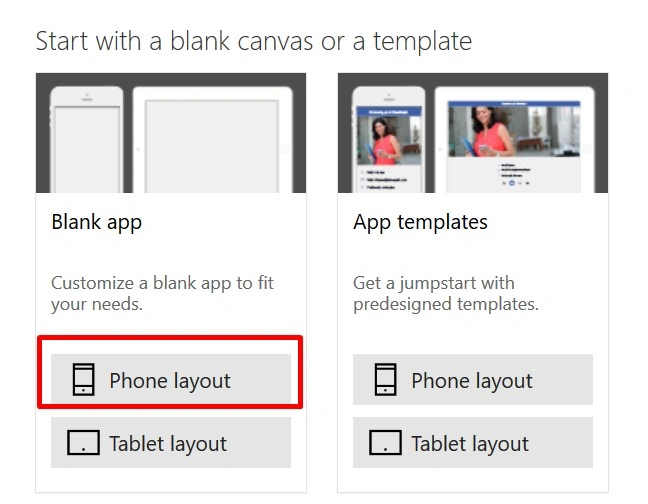
In new browser tab, select “Phone layout” (If you want, you can use Tablet layout as well).
Step 3.3
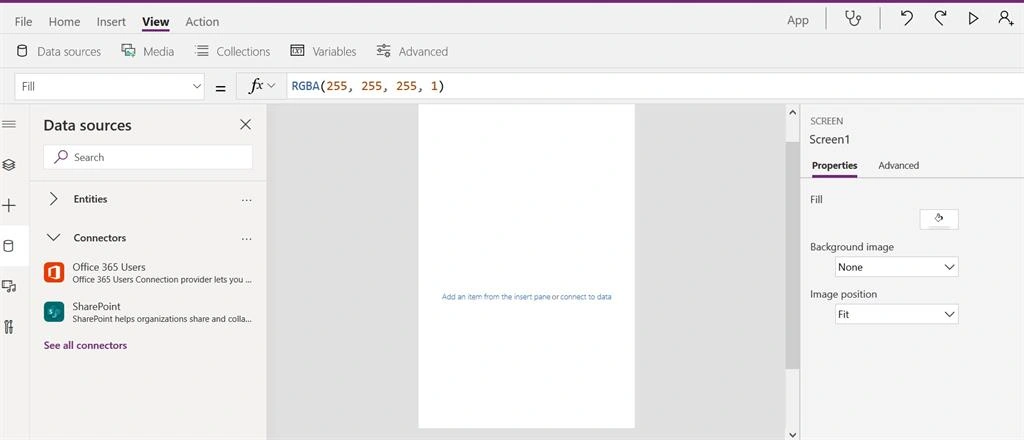
In new Canvas app, Open Data Sources from left navigation
Step 3.4
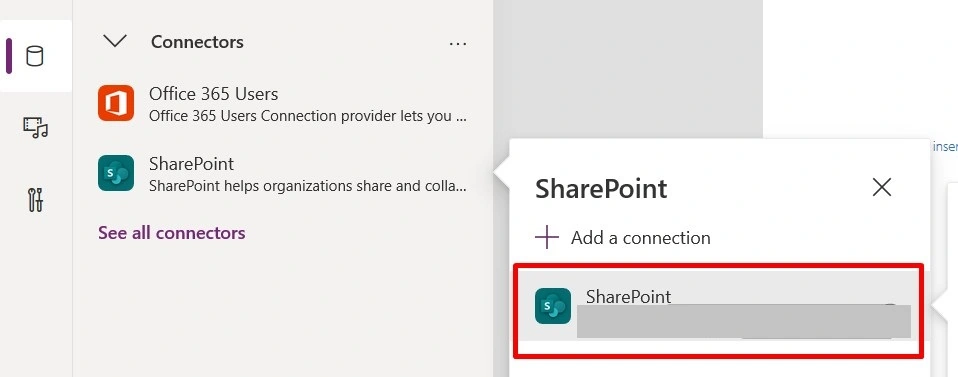
Select SharePoint Connection created in Step 2
Step 3.5
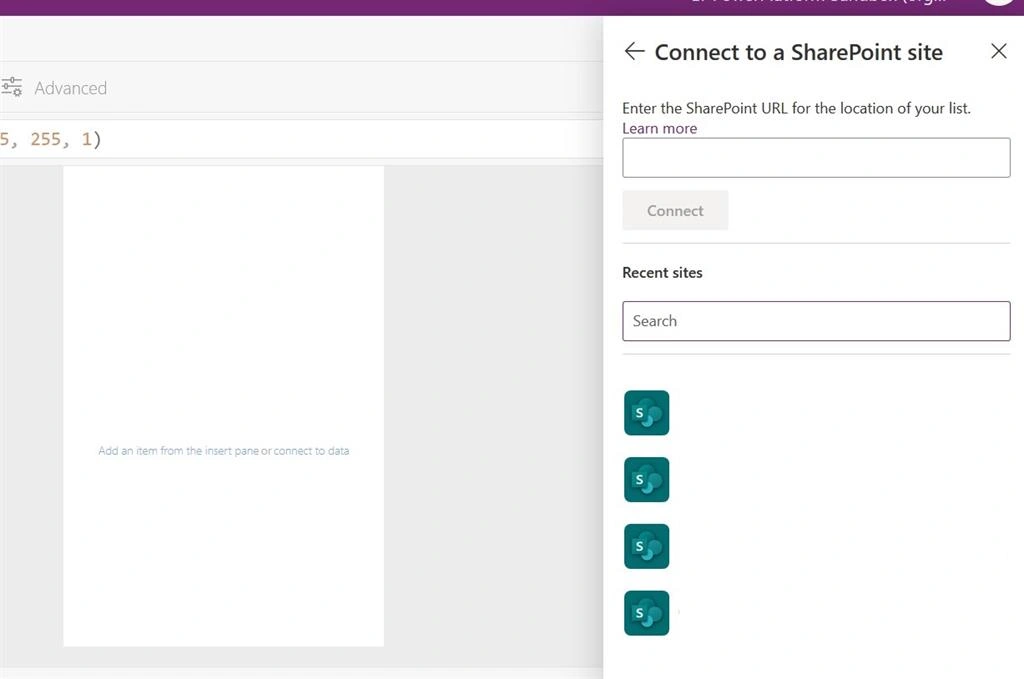
Select SharePoint Site
Step 3.6
Select SharePoint List
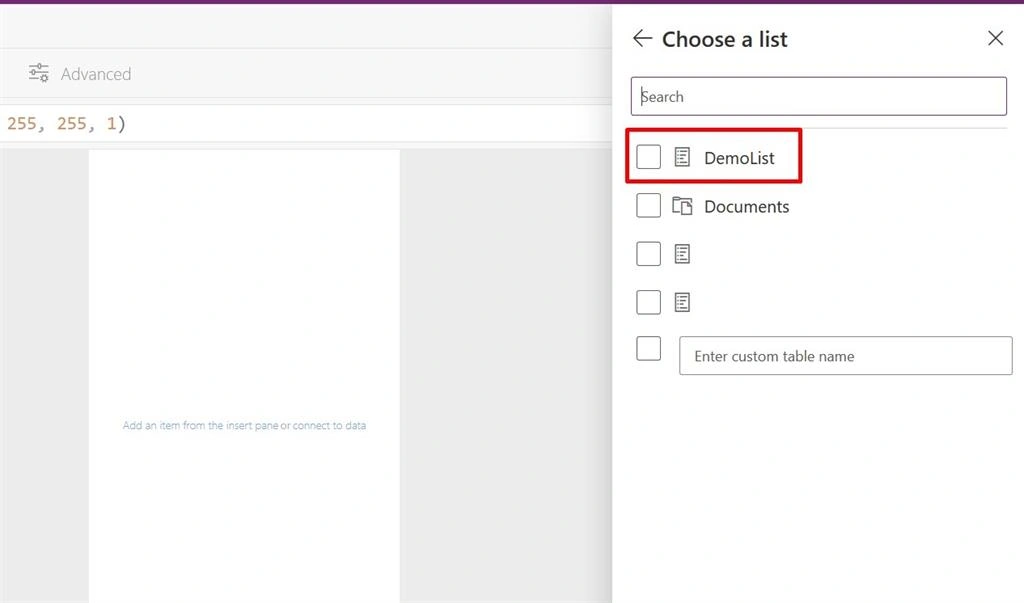
Step 4 - Add and Configure Gallery Control
Step 4.1
Add Gallery Control to Canvas App
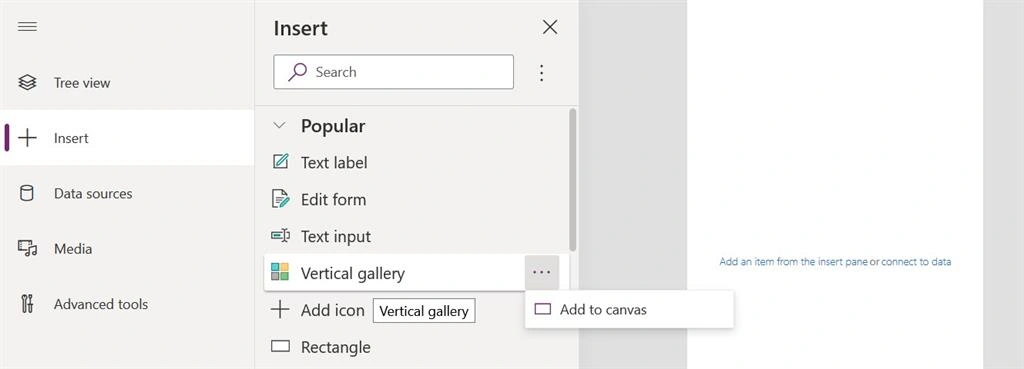
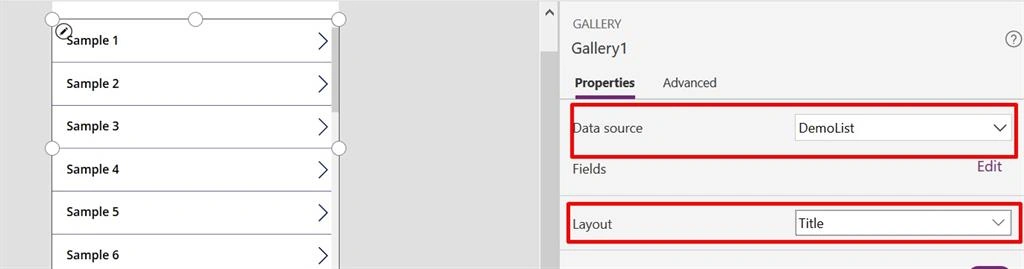
Step 4.2
Configure Data source and Layout as shown in image
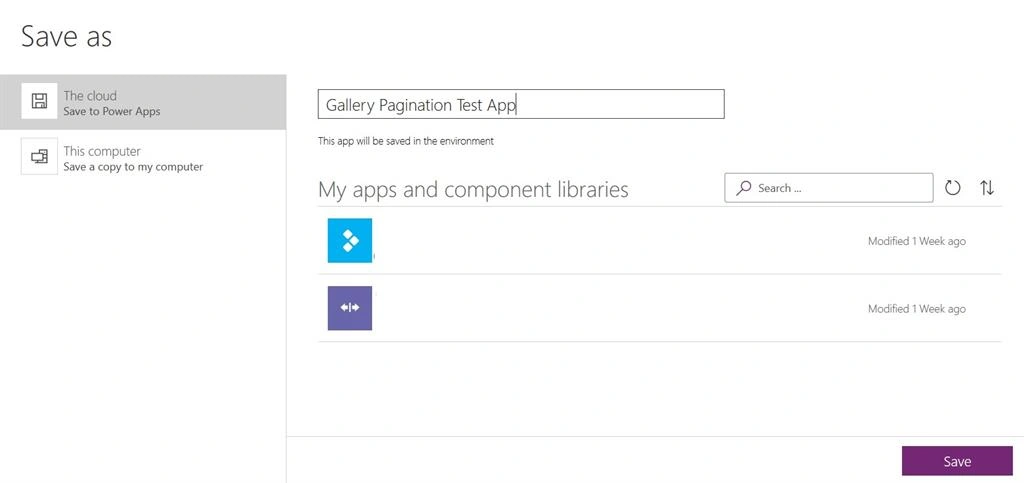
Step 5
Save Canvas App
Step 6 - Add “Gallery Pagination” Component to PowerApps environment
Step 6.1
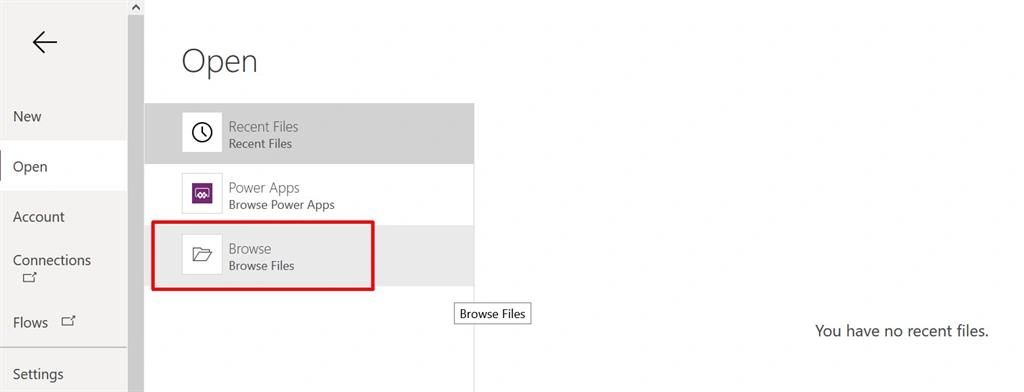
In Canvas App, Click File > Open > Browse
Step 6.2
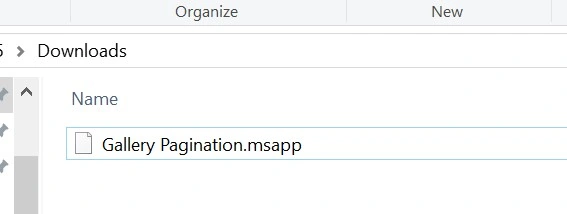
Select “Gallery Pagination.msapp” from Downloads folder (which we downloaded earlier from Git)
Step 6.3
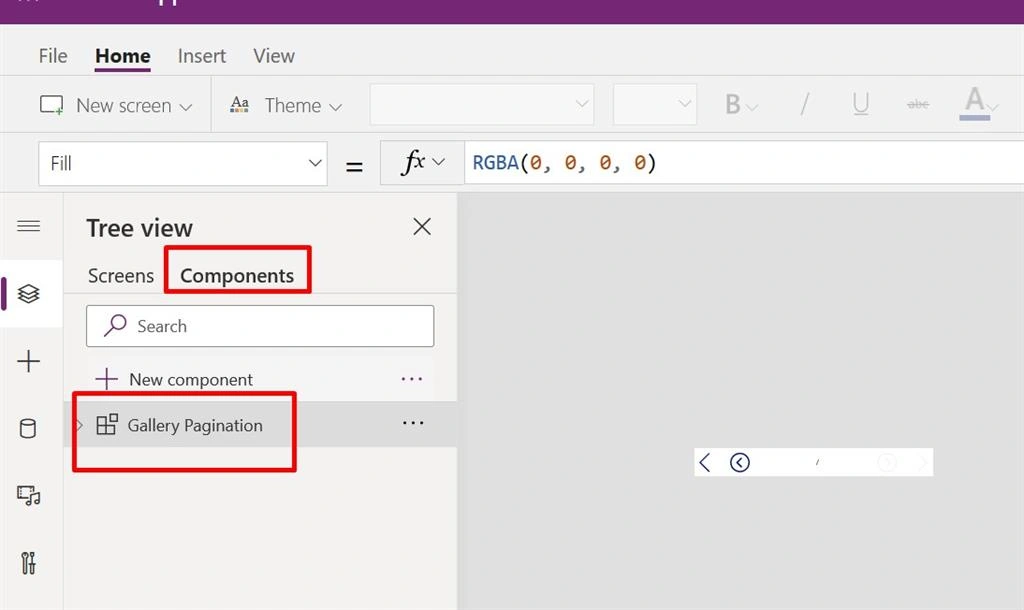
This will close our canvas app and will open new App where Component will be visible in Components section.
Step 6.4
Save Component

Step 6.5
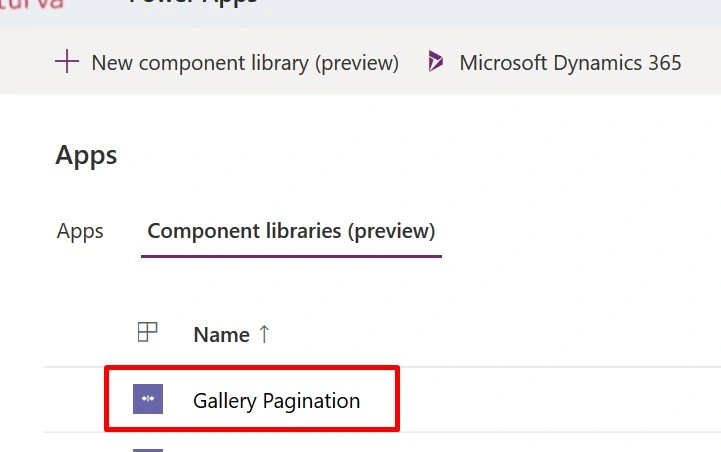
You can now see that Component is added successfully in your PowerApps environment. Close this component browser session now.
Step 7
Now open canvas app for adding and using component,
Step 7.1
Open Canvas App in Edit mode
Step 7.2
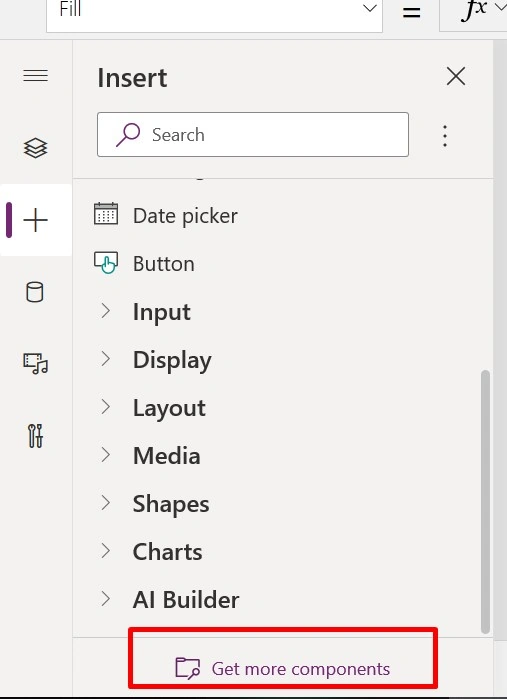
Click “+” icon in left navigation menu and in the Insert panel at the bottom select “Get more components”
Step 7.3
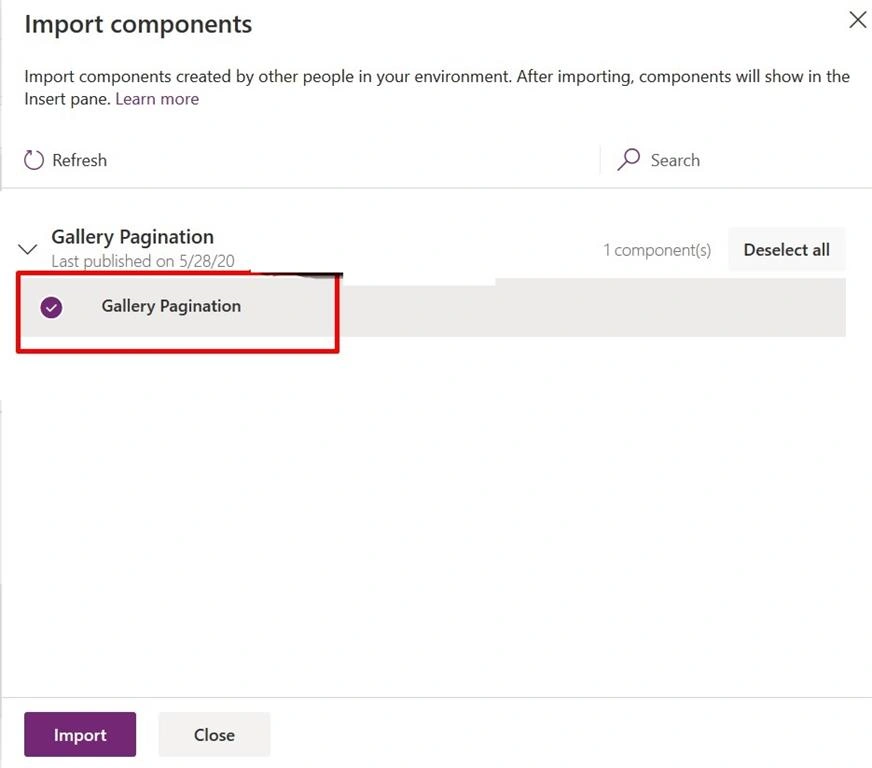
Select “Gallery Pagination” component and Import from the Import Panel
Step 7.4
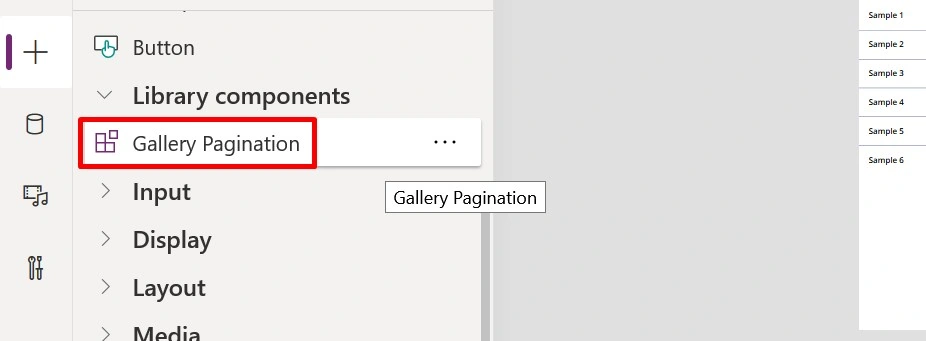
Now “Gallery Pagination” component should be visible under Library components
Step 7.5
Add the component to Canvas app
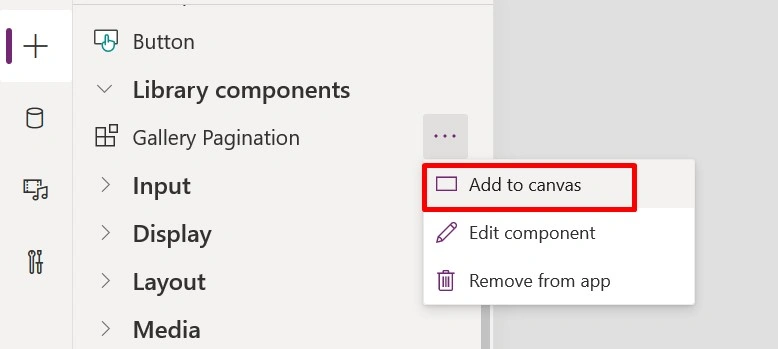
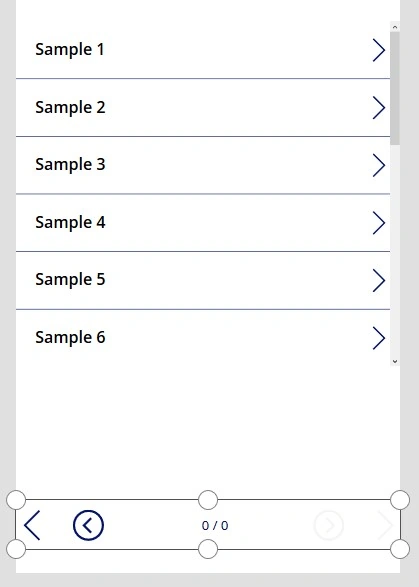
Step 7.6
Adjust it according to screen size so that all “Gallery Pagination” controls appear correctly
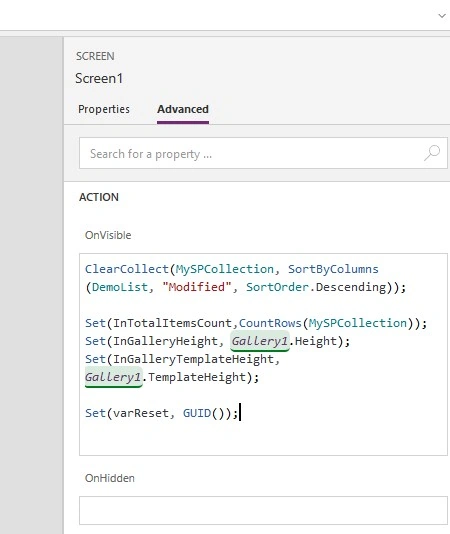
Step 8 - Configure Canvas App Screen
Add the below snippet in OnVisible event of Canvas App screen.
MySPCollection is a new collection where records from DemoList will be stored.
InTotalItemsCount, InGalleryHeight, InGalleryTemplateHeight and varReset are input variables to Component control.
Gallery1 is the name of gallery control added on screen.
Important to note here is that Component Paging will be based on Gallery height and Gallery template height. Hence, we need to pass it to Pagination control.
ClearCollect(MySPCollection, SortByColumns(DemoList, "Modified", SortOrder.Descending));
Set(InTotalItemsCount,CountRows(MySPCollection));
Set(InGalleryHeight, Gallery1.Height);
Set(InGalleryTemplateHeight, Gallery1.TemplateHeight);
Set(varReset, GUID());
Step 9 - Configure Component Input Parameters
Assign variables used in Step 8 to the component as shown in image below.
You may also update a few other input parameters if you wish or just let them have the default values.
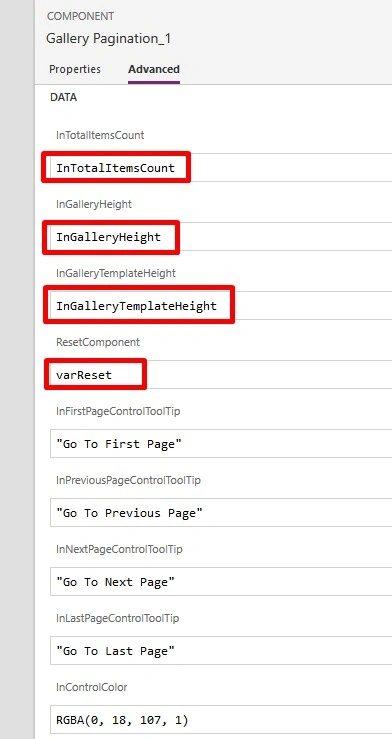
Details of Component input parameters
|
Input Parameter
(* are mandatory)
|
Input Values / Default Values
|
Description
|
|
InTotalItemsCount (*)
|
InTotalItemsCount
|
Total Items Count
|
|
InGalleryHeight (*)
|
InGalleryHeight
|
Gallery Height
|
|
InGalleryTemplateHeight (*)
|
InGalleryTemplateHeight
|
Gallery Template Height
|
|
ResetComponent (*)
|
varReset
|
To initialize component values based on reset event
|
|
InFirstPageControlToolTip
|
“Go To First Page”
|
Tooltip of First Page Control
|
|
InPreviousPageControlToolTip
|
“Go To Previous Page”
|
Tooltip of Previous Page Control
|
|
InNextPageControlToolTip
|
“Go To Next Page”
|
Tooltip of Next Page Control
|
|
InLastPageControlToolTip
|
“Go To Last Page”
|
Tooltip of Last Page Control
|
|
InControlColor
|
RGBA(0, 18, 107, 1)
|
Color to set for component controls
|
Step 10 - Configure Gallery Control Based on Component’s Output Parameters
Configure Gallery Control Items field with the help of output parameters from “Gallery Pagination” component.
Here Gallery Pagination_1' is the “Gallery Pagination” component added on Canvas app screen.
If('Gallery Pagination_1'.OutCurrentPage = 'Gallery Pagination_1'.OutTotalPages,LastN(FirstN(MySPCollection,'Gallery Pagination_1'.OutPageCounter),(InTotalItemsCount - ('Gallery Pagination_1'.OutPageCounter - 'Gallery Pagination_1'.OutItemsPerPage))),LastN(FirstN(MySPCollection,'Gallery Pagination_1'.OutPageCounter),'Gallery Pagination_1'.OutItemsPerPage))
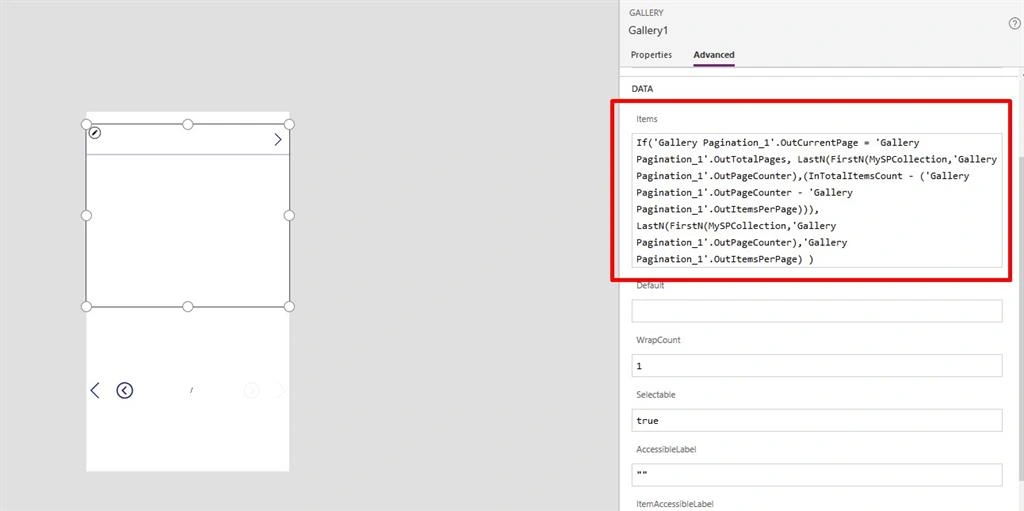
You don’t have to worry about what each Output parameter is built for, but just for your information here are the details of Component output parameters,
|
Output Parameter
|
Description
|
|
OutPageCounter
|
Page counter for each page
|
|
OutItemsPerPage
|
Items shown per page
|
|
OutCurrentPage
|
Current Page Number
|
|
OutTotalPages
|
Total Page Number
|
Note
If there are variables in your real Canvas app where you are using the same Input or Output variable names then you can go to the Component and update carefully the input or output variable names to new ones which are used in Component’s OnReset event, Navigation control’s Select event and Page Number's label control text. After this just save and publish the app and import component again in your canvas app. Now you will have to use new Input or Output variables in above steps.
Step 11 - Publish Canvas app
Now save and publish the canvas app and open it in new browser window to let Screen OnVisible event execute correctly.
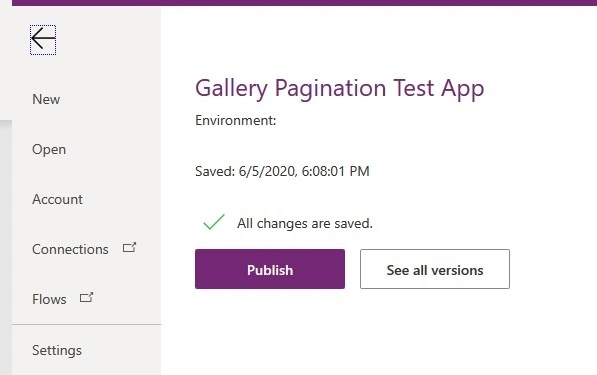
Step 12 - Open Canvas app in browser
Step 12.1
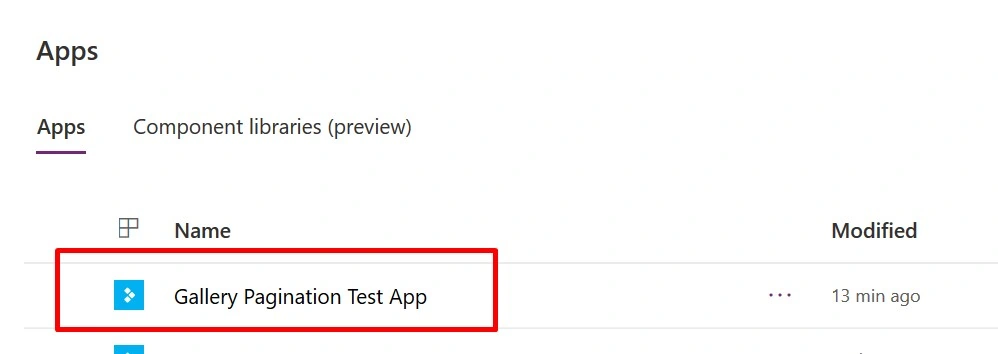
Go to the Apps view
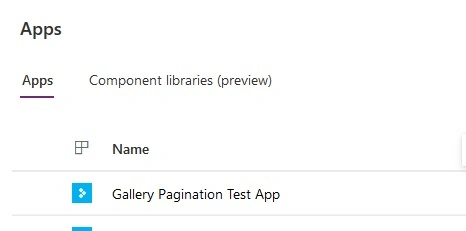
Step 12.2
Open details of canvas app by using the context menu
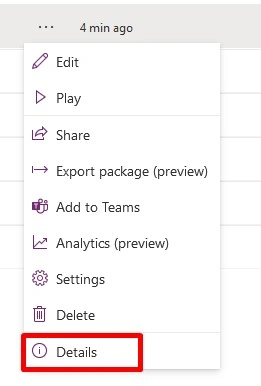
Step 12.3
Copy or click on the Web link field to open the canvas app in browser
Step 13 - “Gallery Pagination” Component in action
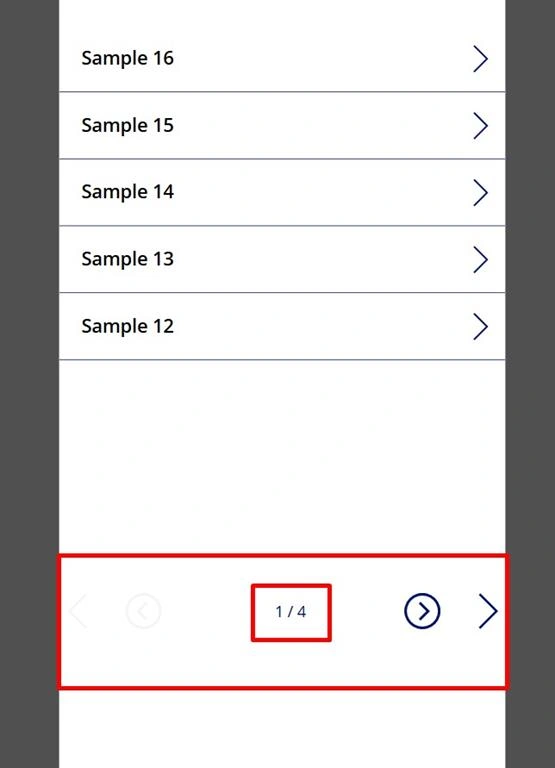
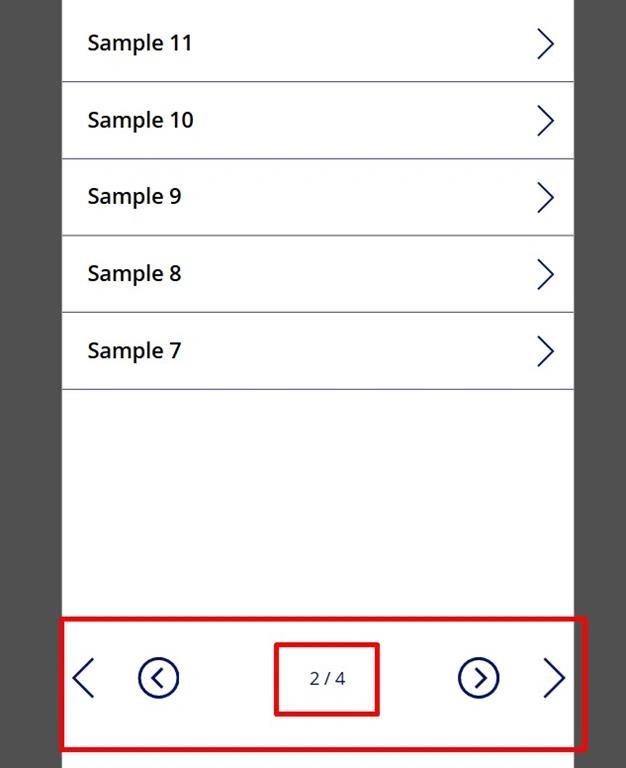
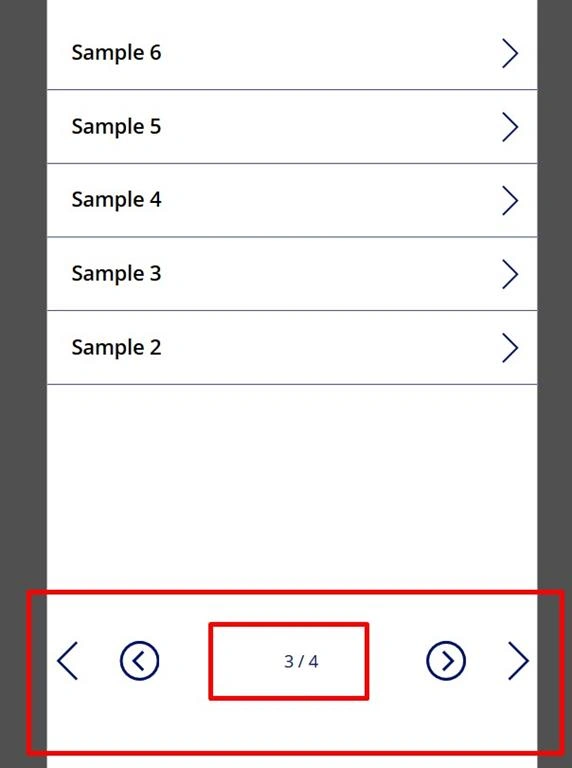
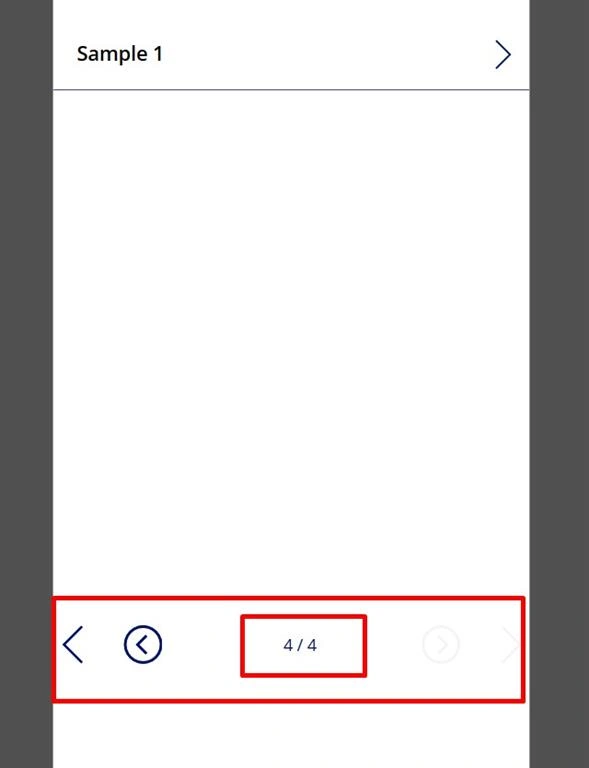
Canvas app results will look like this and now you can move back and forth to view paginated items using “Gallery Pagination” component. Here I have 16 items and based on my Gallery and Gallery Template Height, it shown me 4 pages.
Step 13.1
On first page,
Step 13.2
On second page
Step 13.3
On third page
Step 13.4
On the last page
That’s it! 
Happy Learning, anywhere!
Adesh KewatePosted Jul 26, 2021, 5:31 AM
Hello, this is really a great and easy to configure component for pagination. It works perfectly fine. Thanks Shriram. I've successfully configured the component but in my case I'm filtering data. So after filtering component not resetting. Means, current page, total page, total records variables not resetting automatic. I need to navigate to other screen and then navigating to my my screen where pagination is. Then only these variables resetting. Could you please help me in this?
Power UserPosted Mar 31, 2021, 1:03 PM
Hello, Thanks for the article. It works fine for my gallery. But I also need to add a search box to my gallery for which I have used a text input. The pagination does not work for the search results. Could you please let me know how I can make it work even for the search results? Thank you for the help!
Ima BichePosted Feb 2, 2021, 12:25 PM
Hello, this component is working fine for what I'm trying to do, although I have issue with the proportions not being modulable (I need 3 in my view and they are quite large) and with the usage of "Grid-like" Gallery, using the WrapCount property, do you know how I can make it work ? Thank you very much
Kemal AljicPosted Nov 6, 2020, 4:57 AM
Hi Shriram, great work. I am wondering what is the best way to change number of items per page? To make it customisable based on drop down or something similar?
parthasarathy BPosted Oct 8, 2020, 5:30 AM
Thanks for this component it works fine. but in Performance Section it's showing some warning like Inefficient delay loading Gallery Pagination.OutPageCounter. How to overcome this warning? any solution would be helpful
vidushi ThakurPosted Sep 23, 2020, 6:22 AM
I have tried the same pattern but my gallery is not showing the data, can you please help anyway?
Shriram PophaliPosted Jun 14, 2020, 9:38 PM
Hi, Please refer Step 2.3 as 2.2 and Step 2.2 as 2.3 ! Thanks!